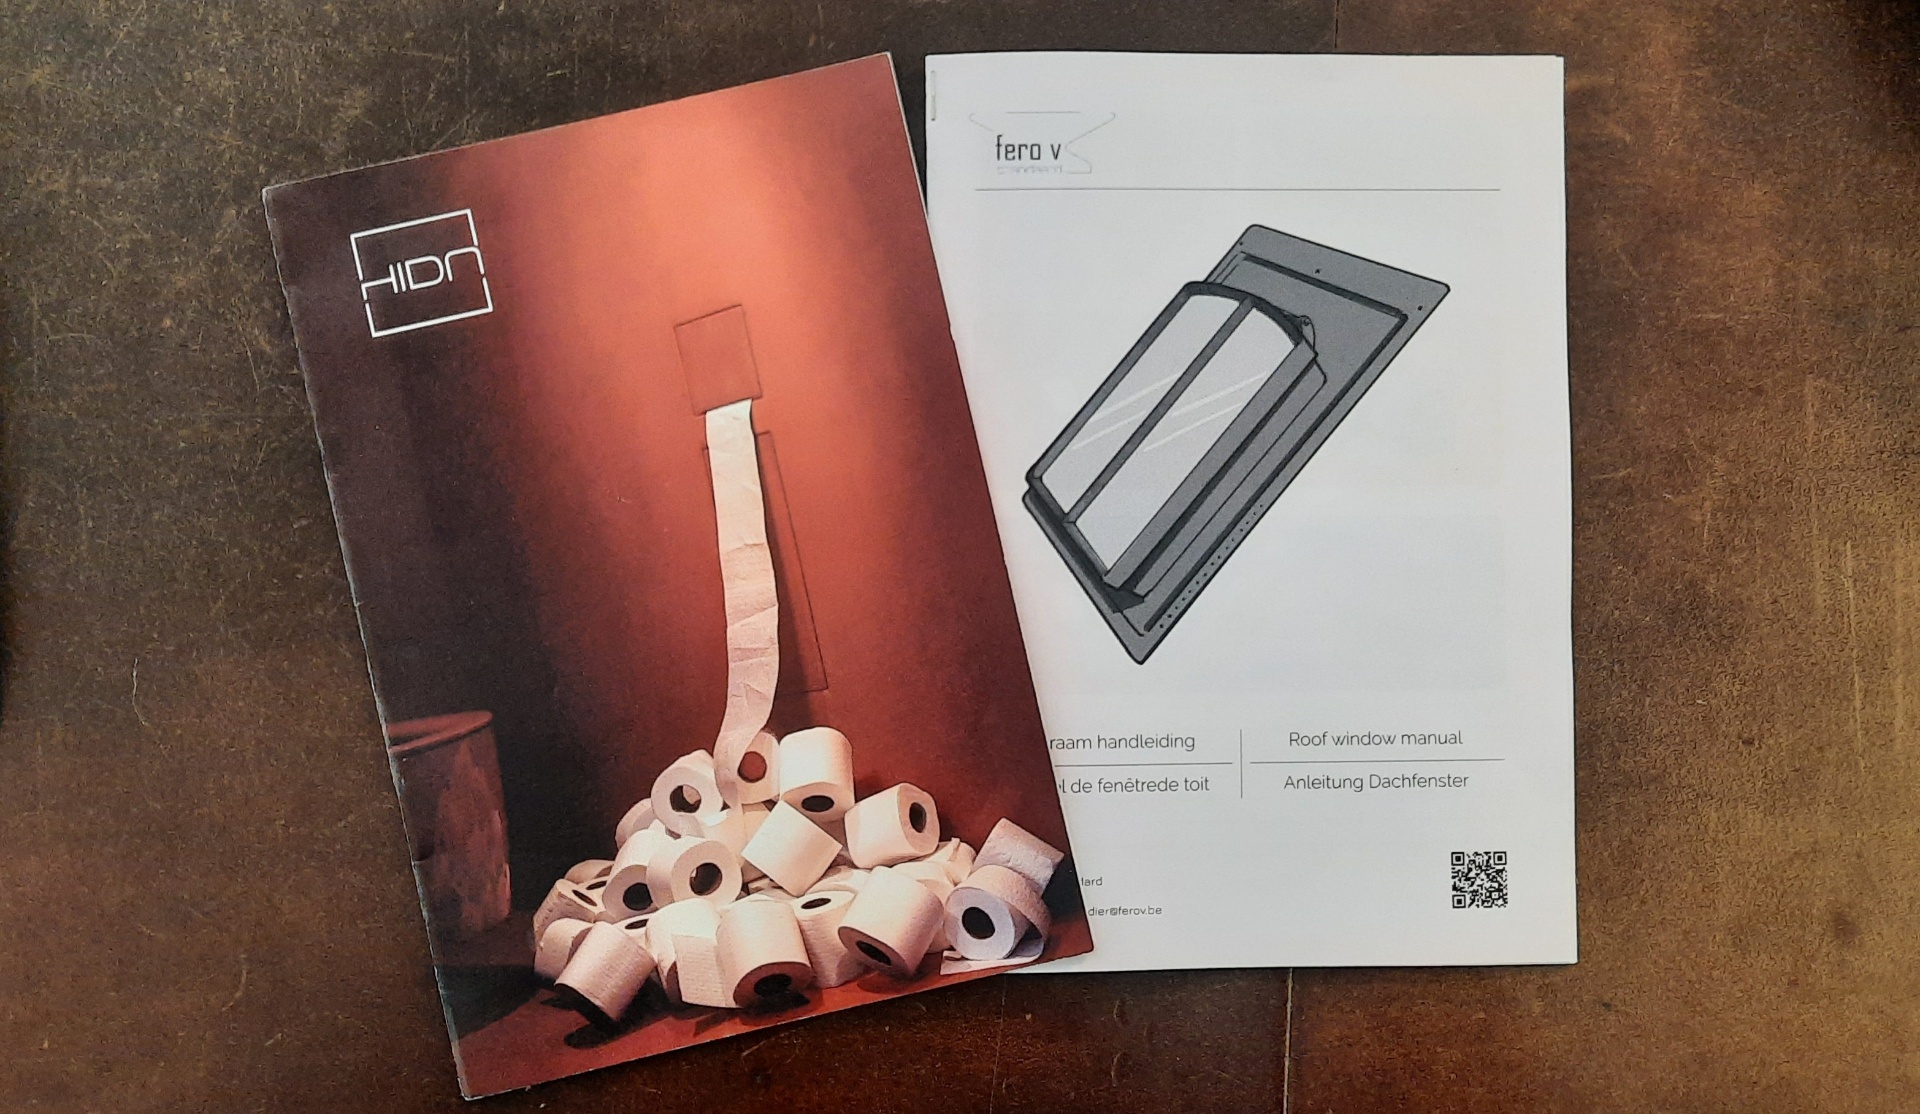
Product visualisation
Visualisations & renders
Photoreal renders and technical visualisations — from product configurators to installer-friendly manuals.
Client
VisibleV, skylight manufacturer, internal
Year
2025
Role
CAD, look-dev, rendering, layout
Tools
Process
How it came together
Step 01
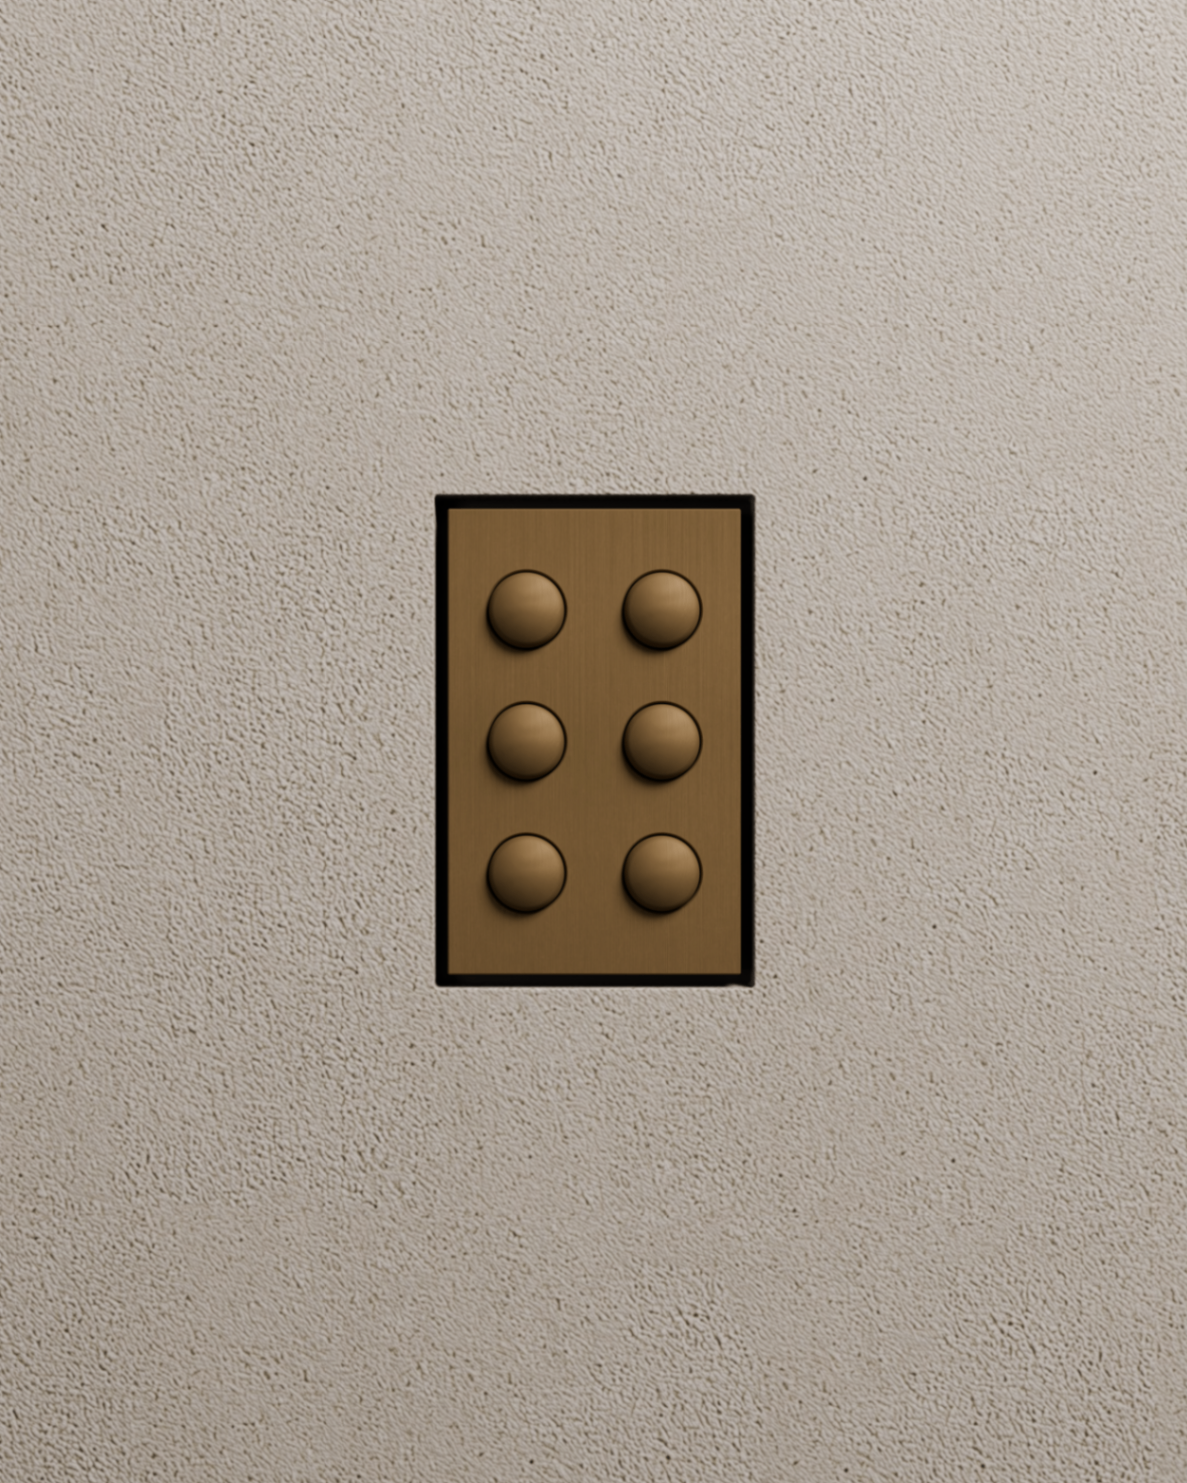
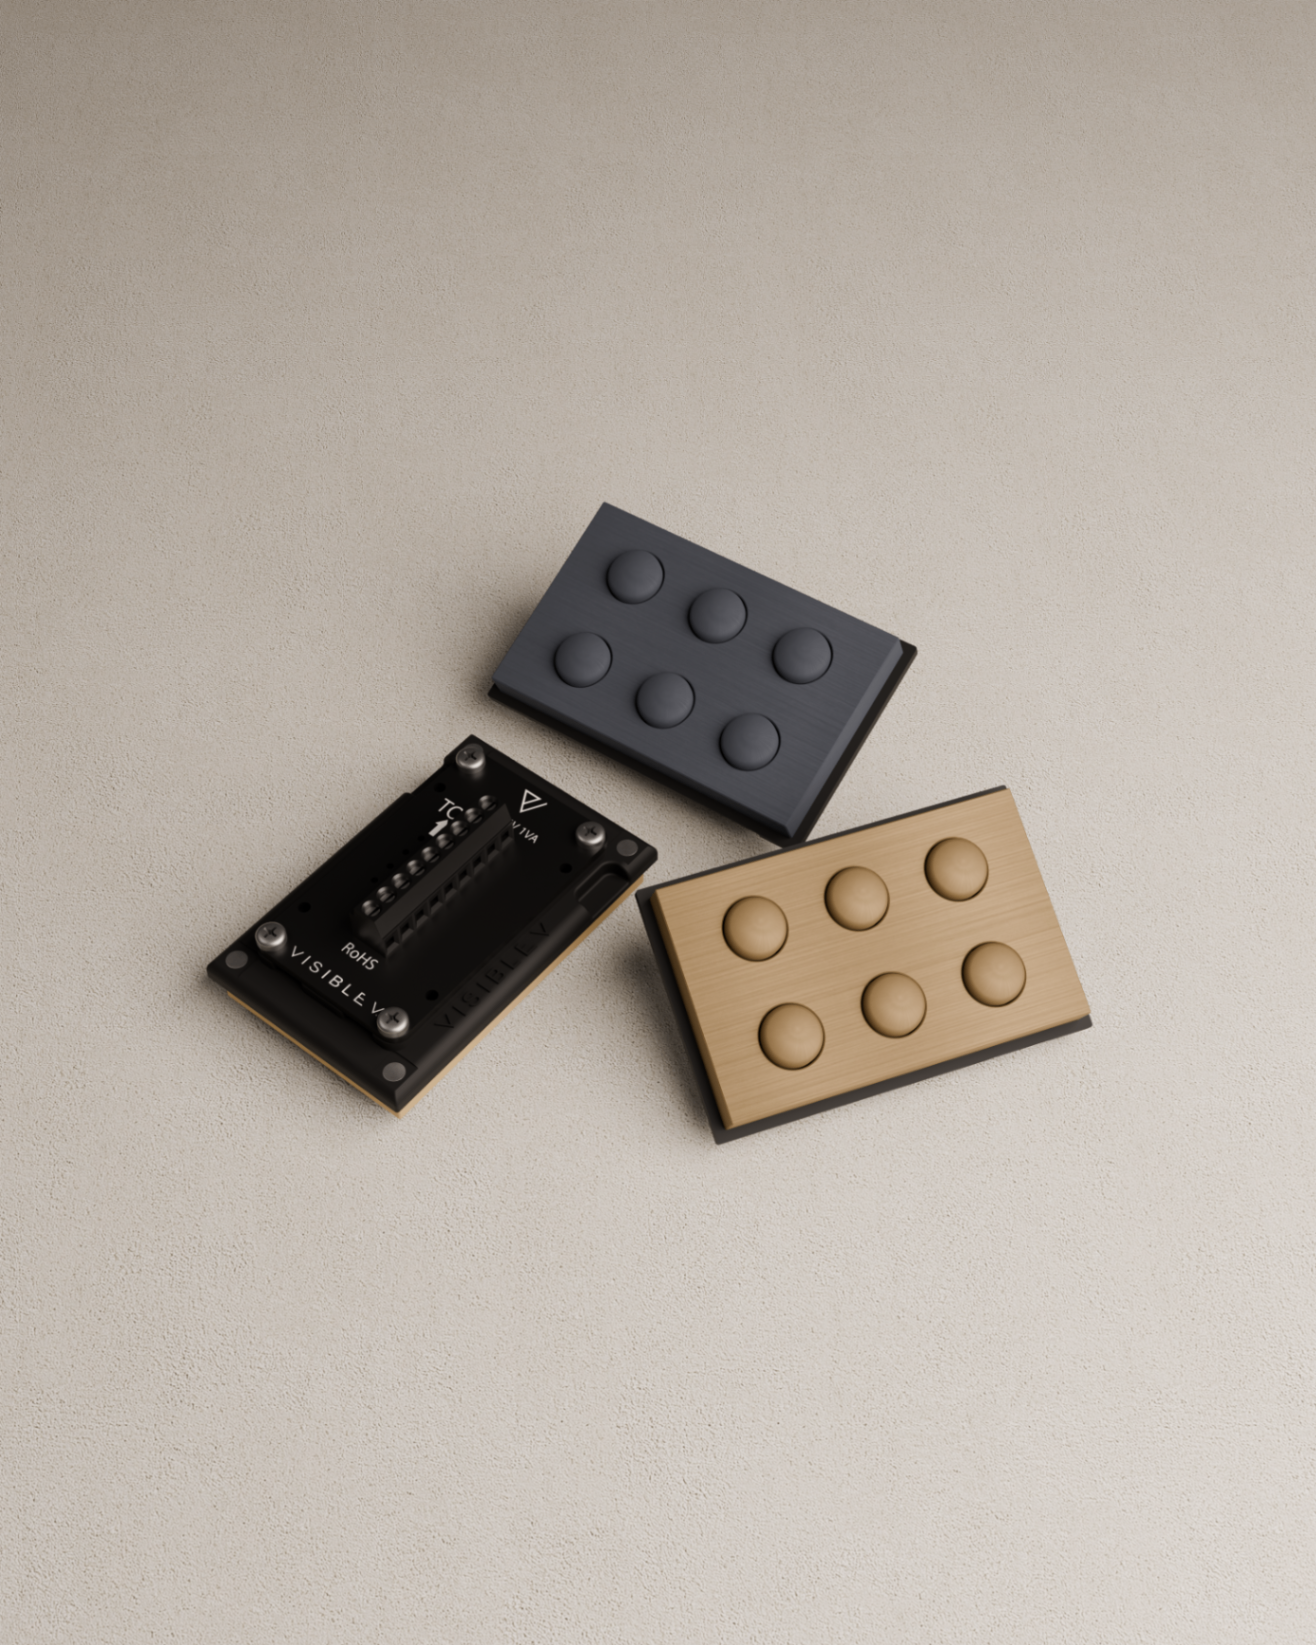
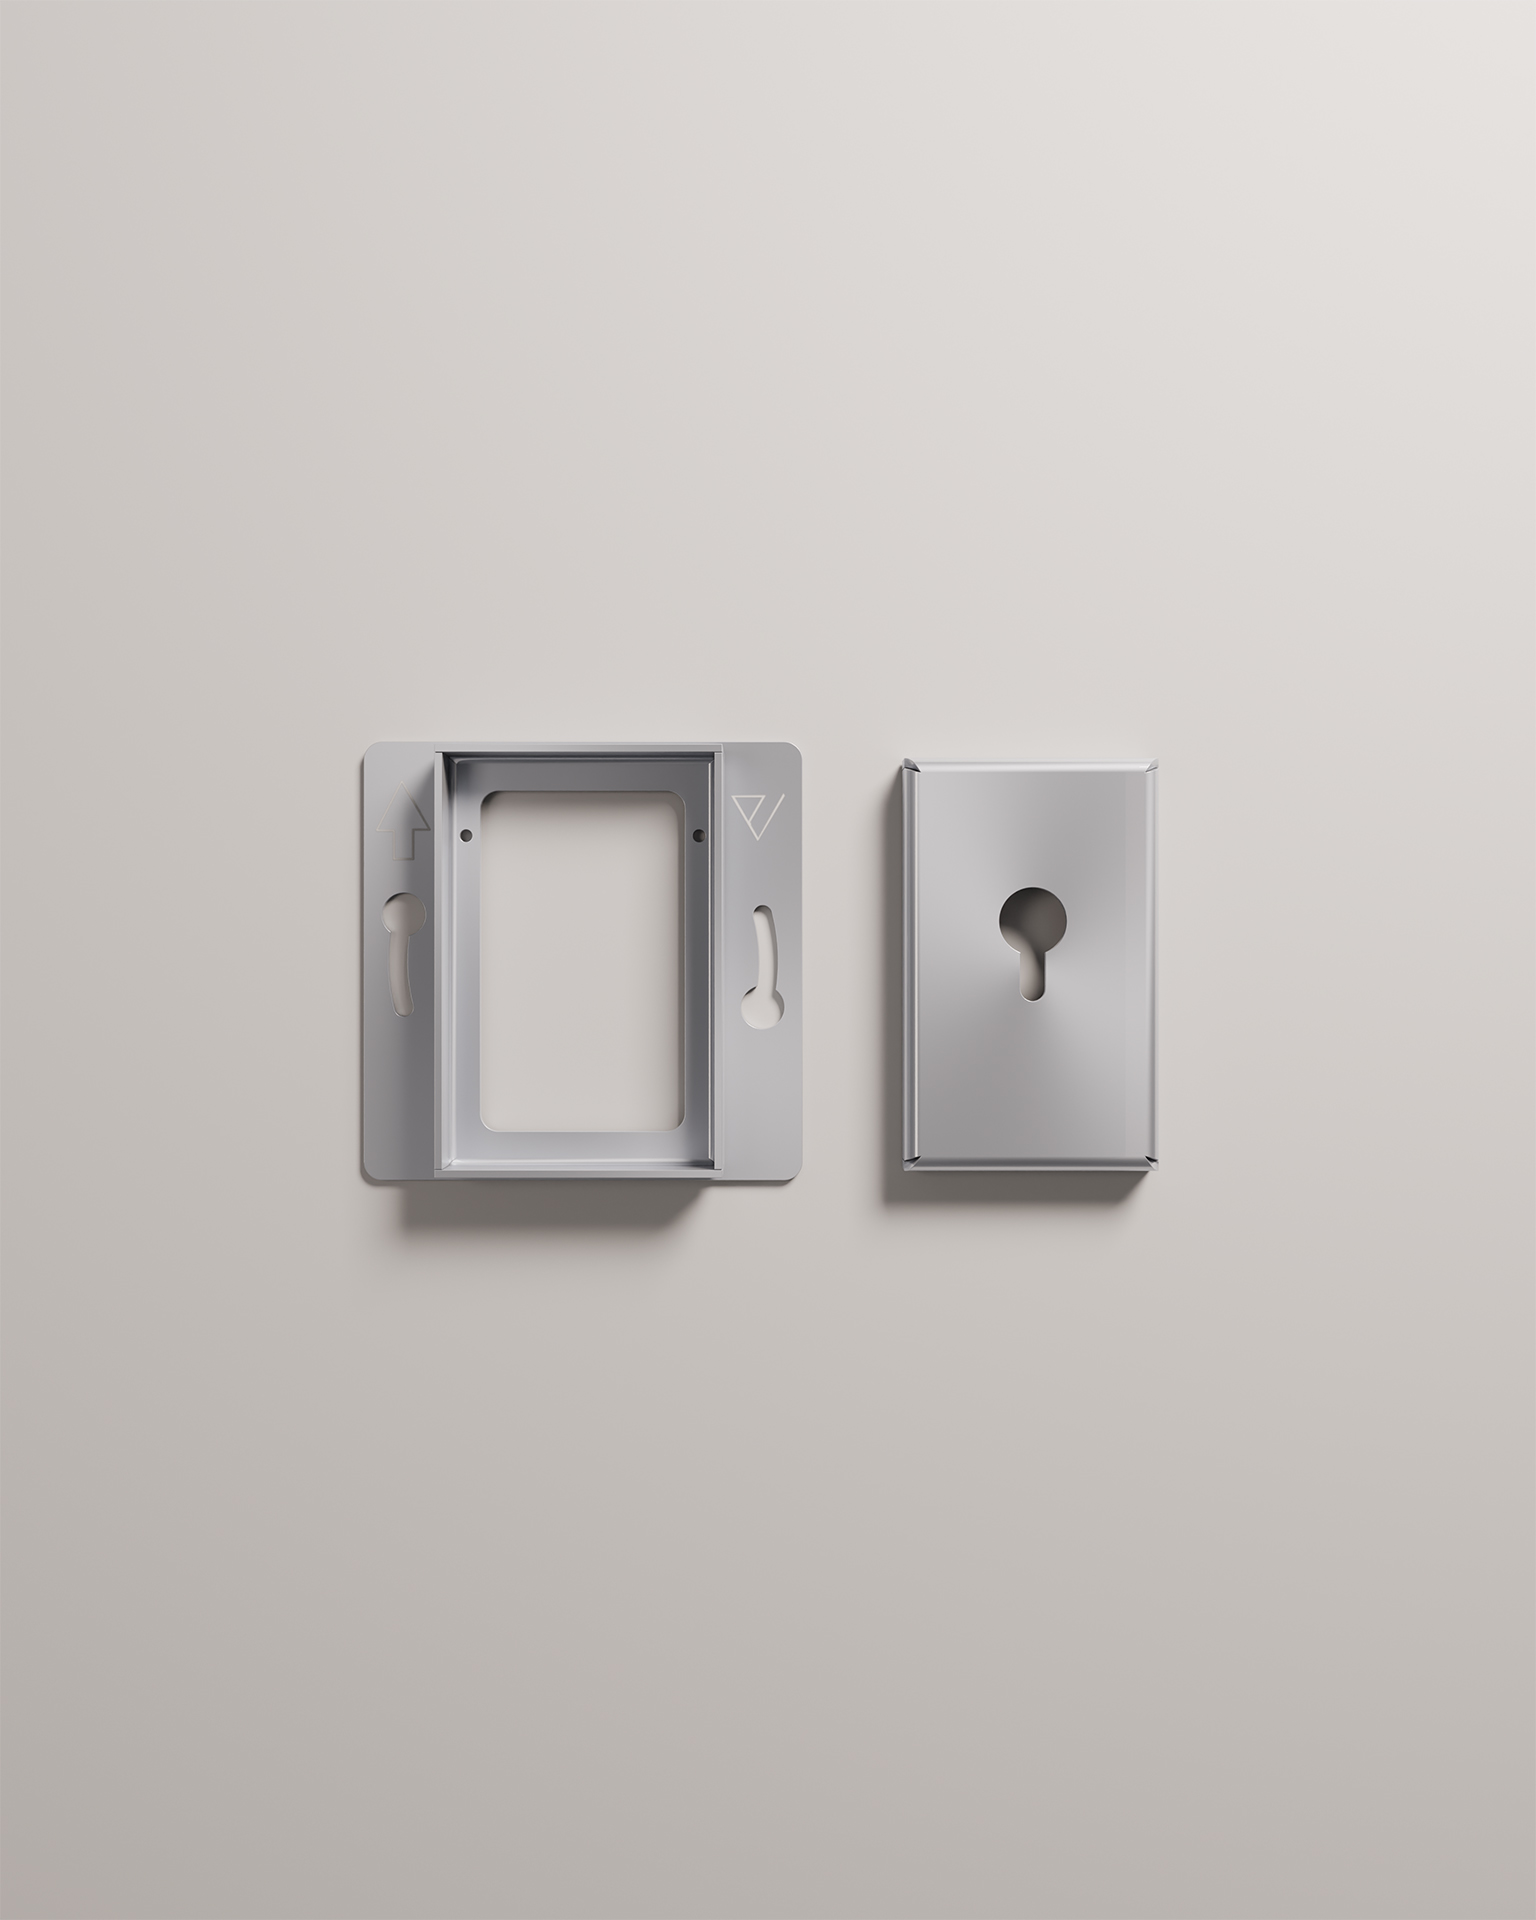
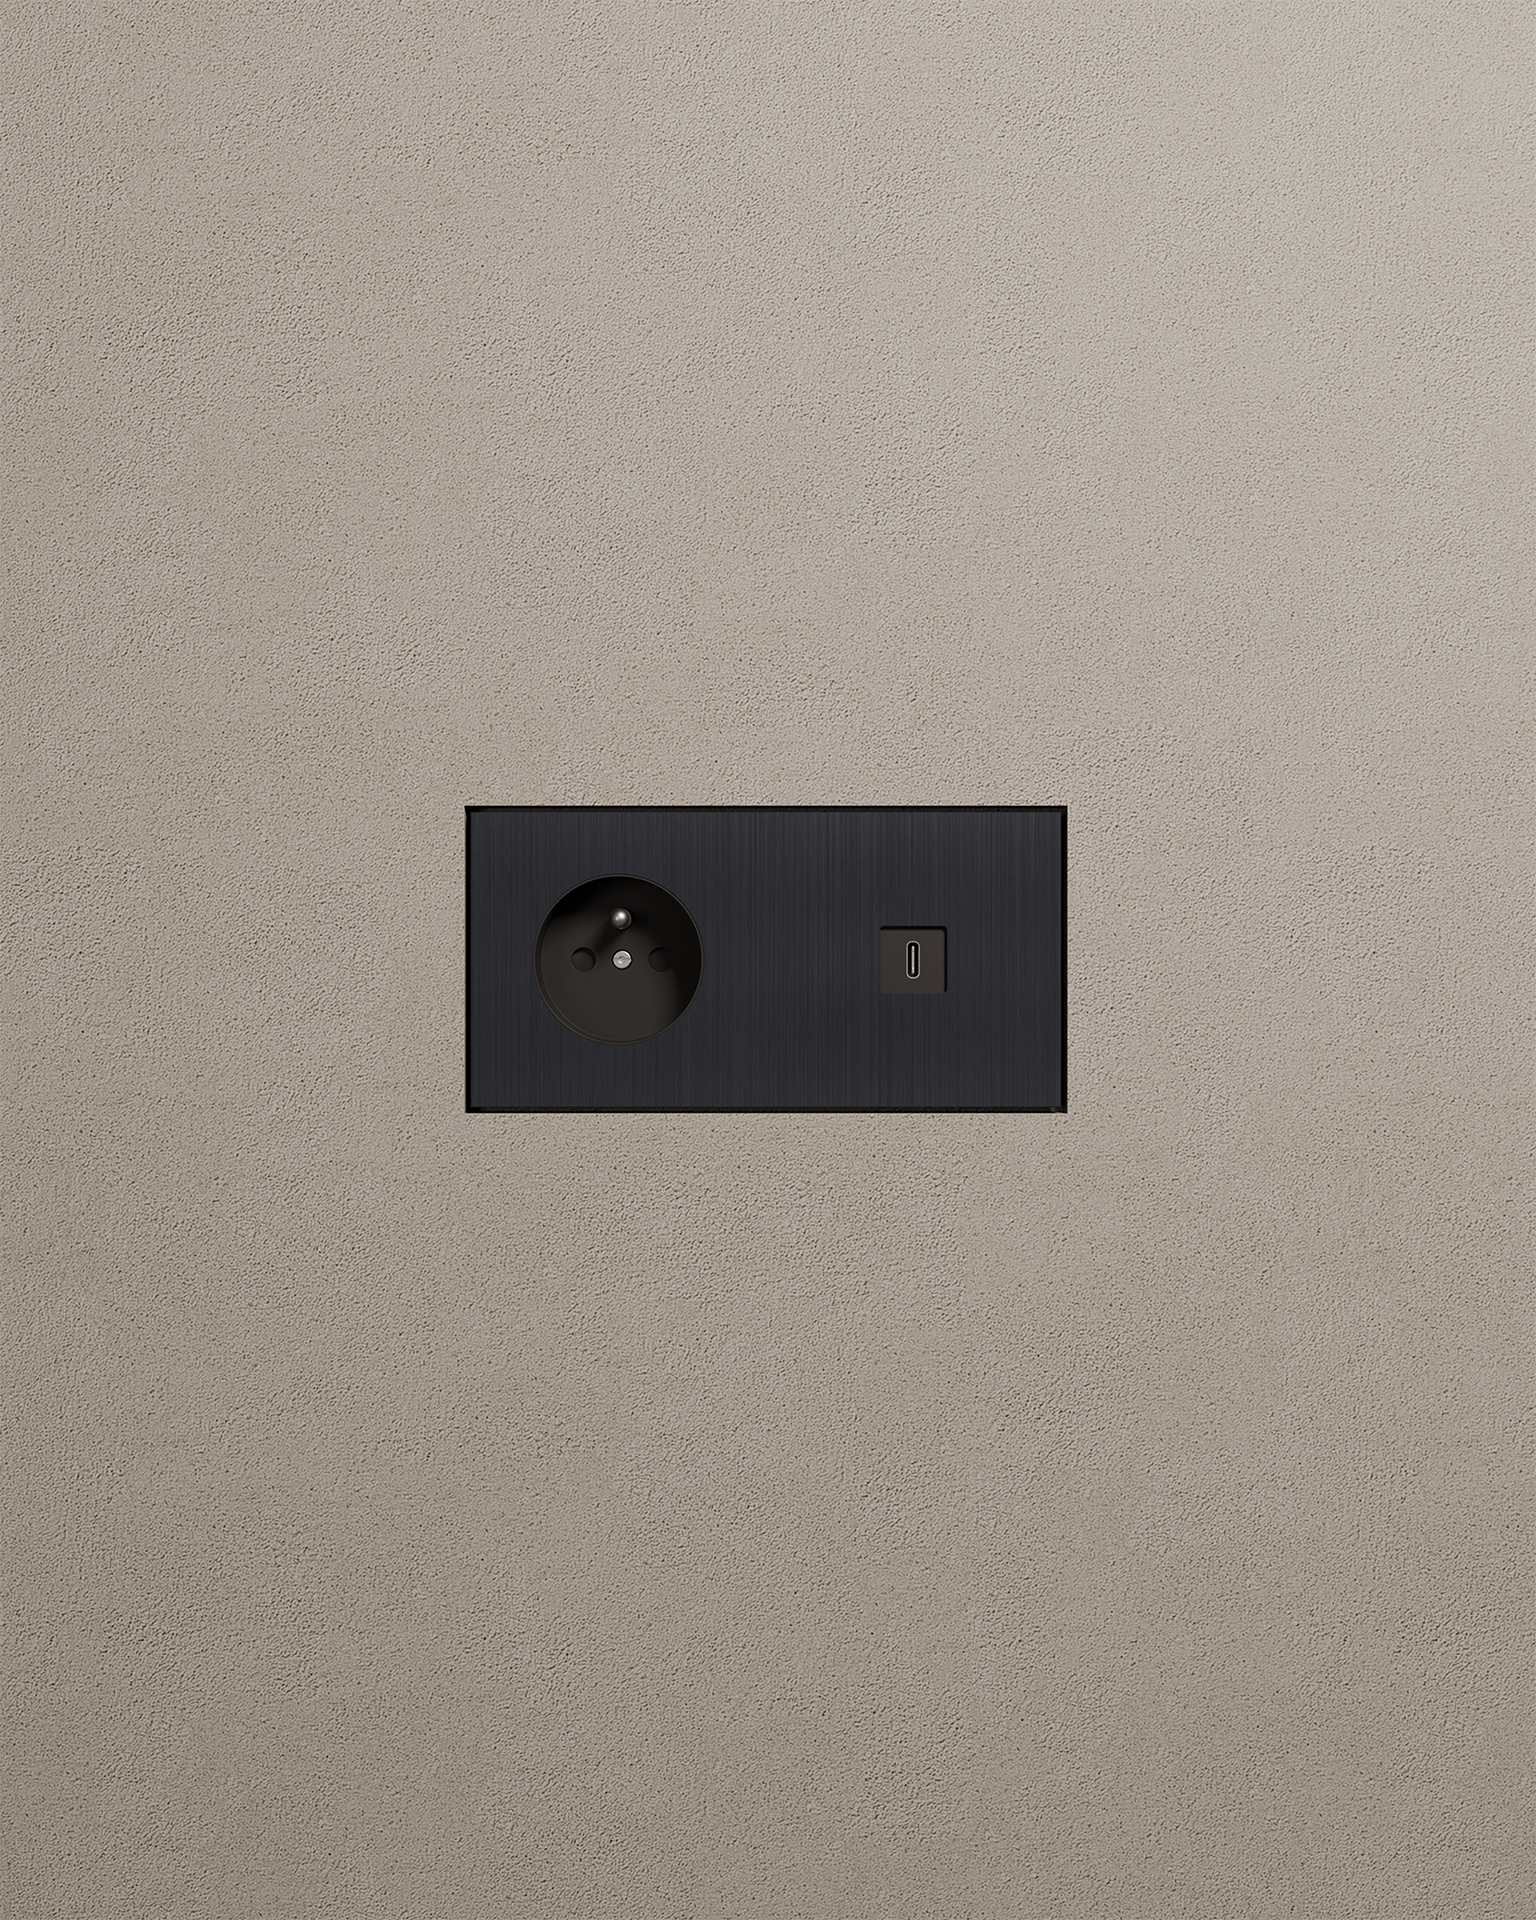
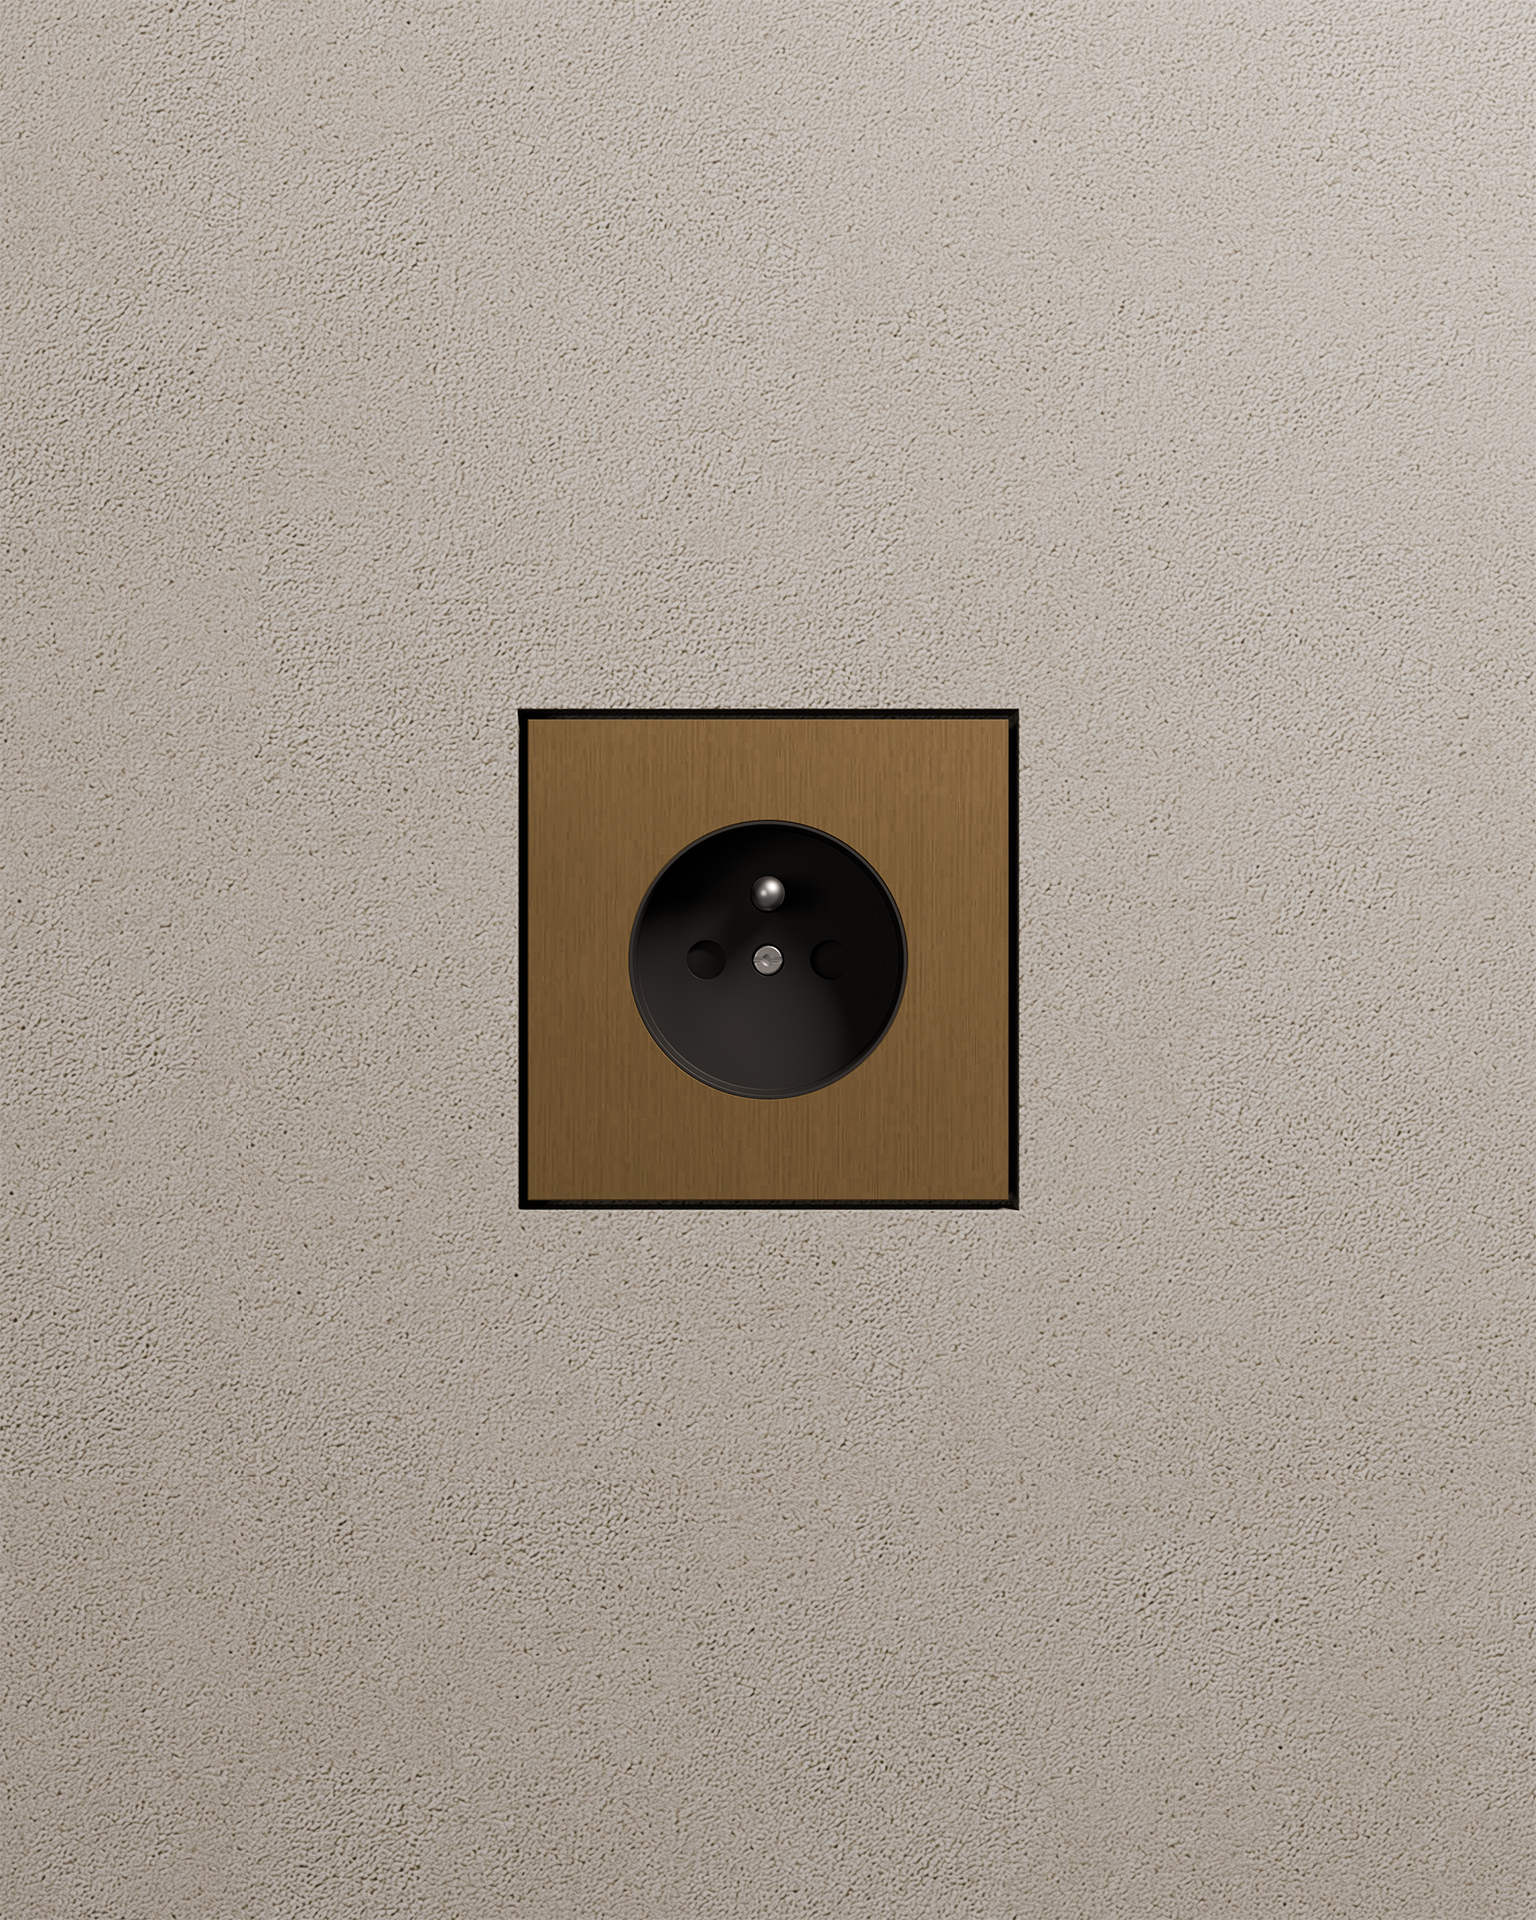
VisibleV — switches & sockets
Built switch-and-socket combinations in SolidWorks as production-ready geometry, then dialled in custom shader networks in Blender against physical samples — layering plaster textures, brushed brass and matte plastics until the renders read like the real product under studio lighting. The full set was shot against the same wall, lighting and framing so every finish and configuration reads as one family across the new VisibleV website.
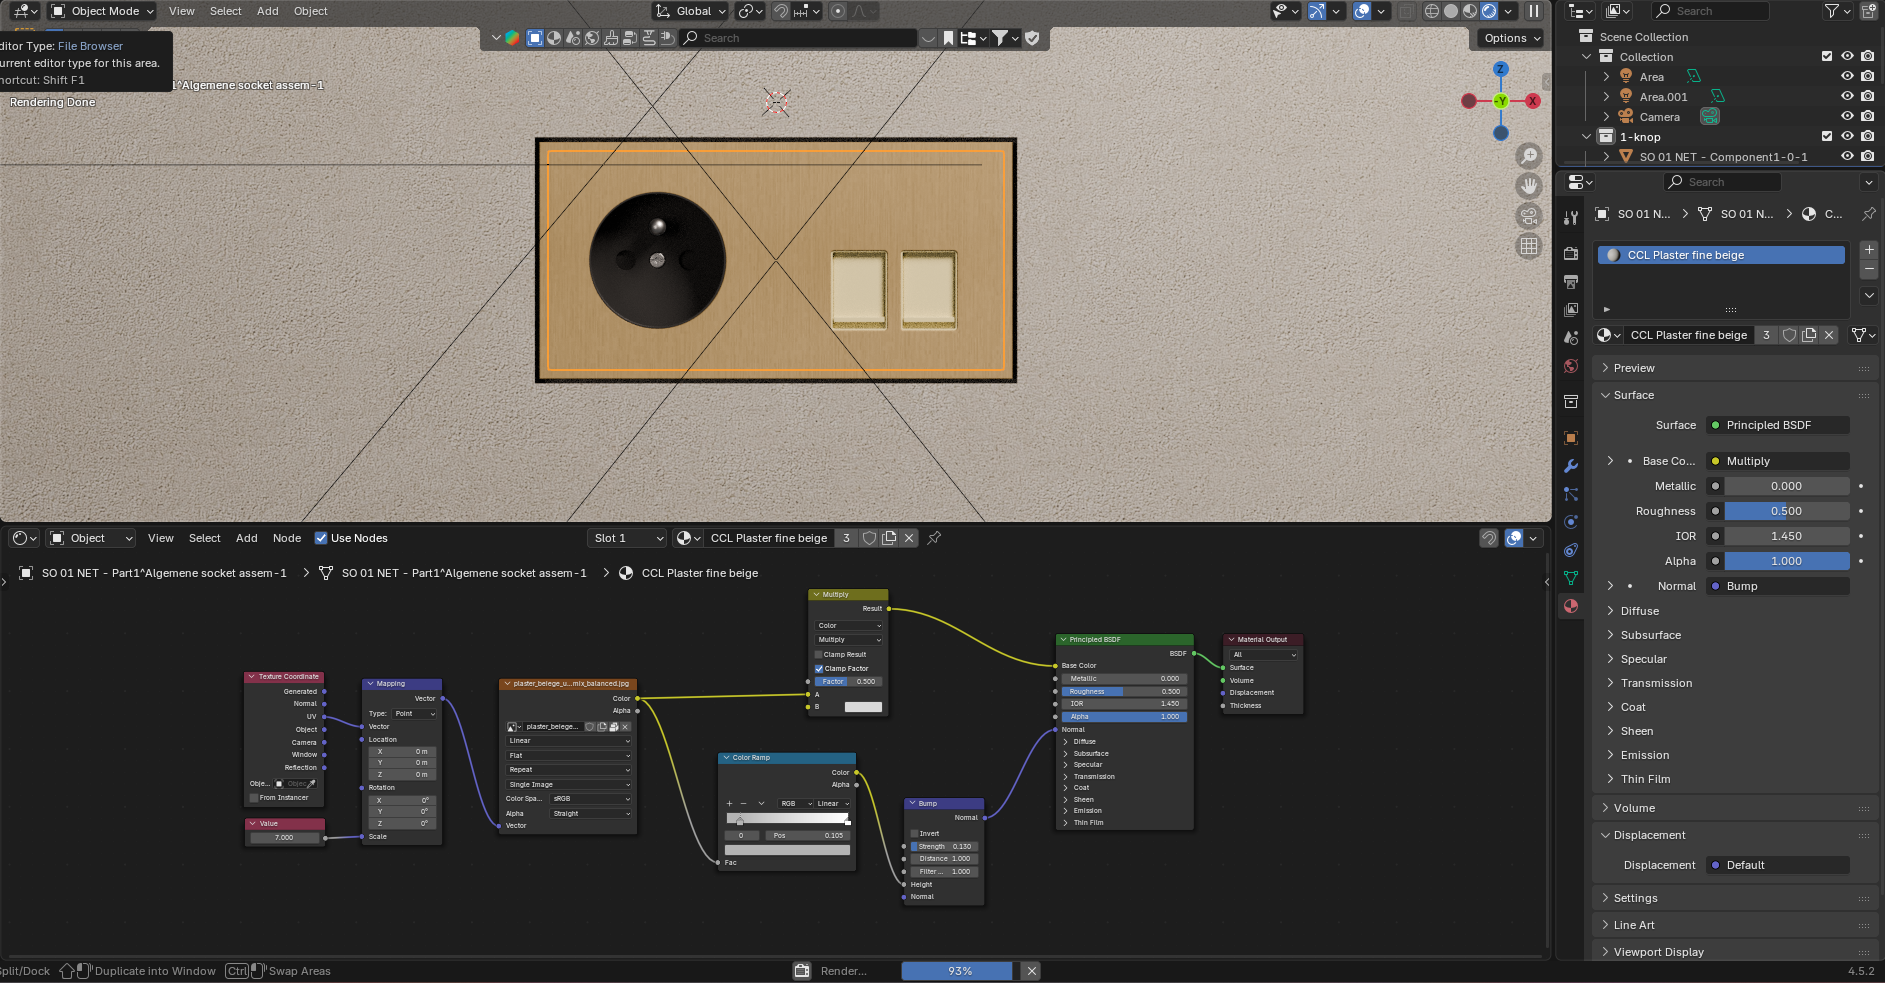
Shader networks & lookdev in Blender 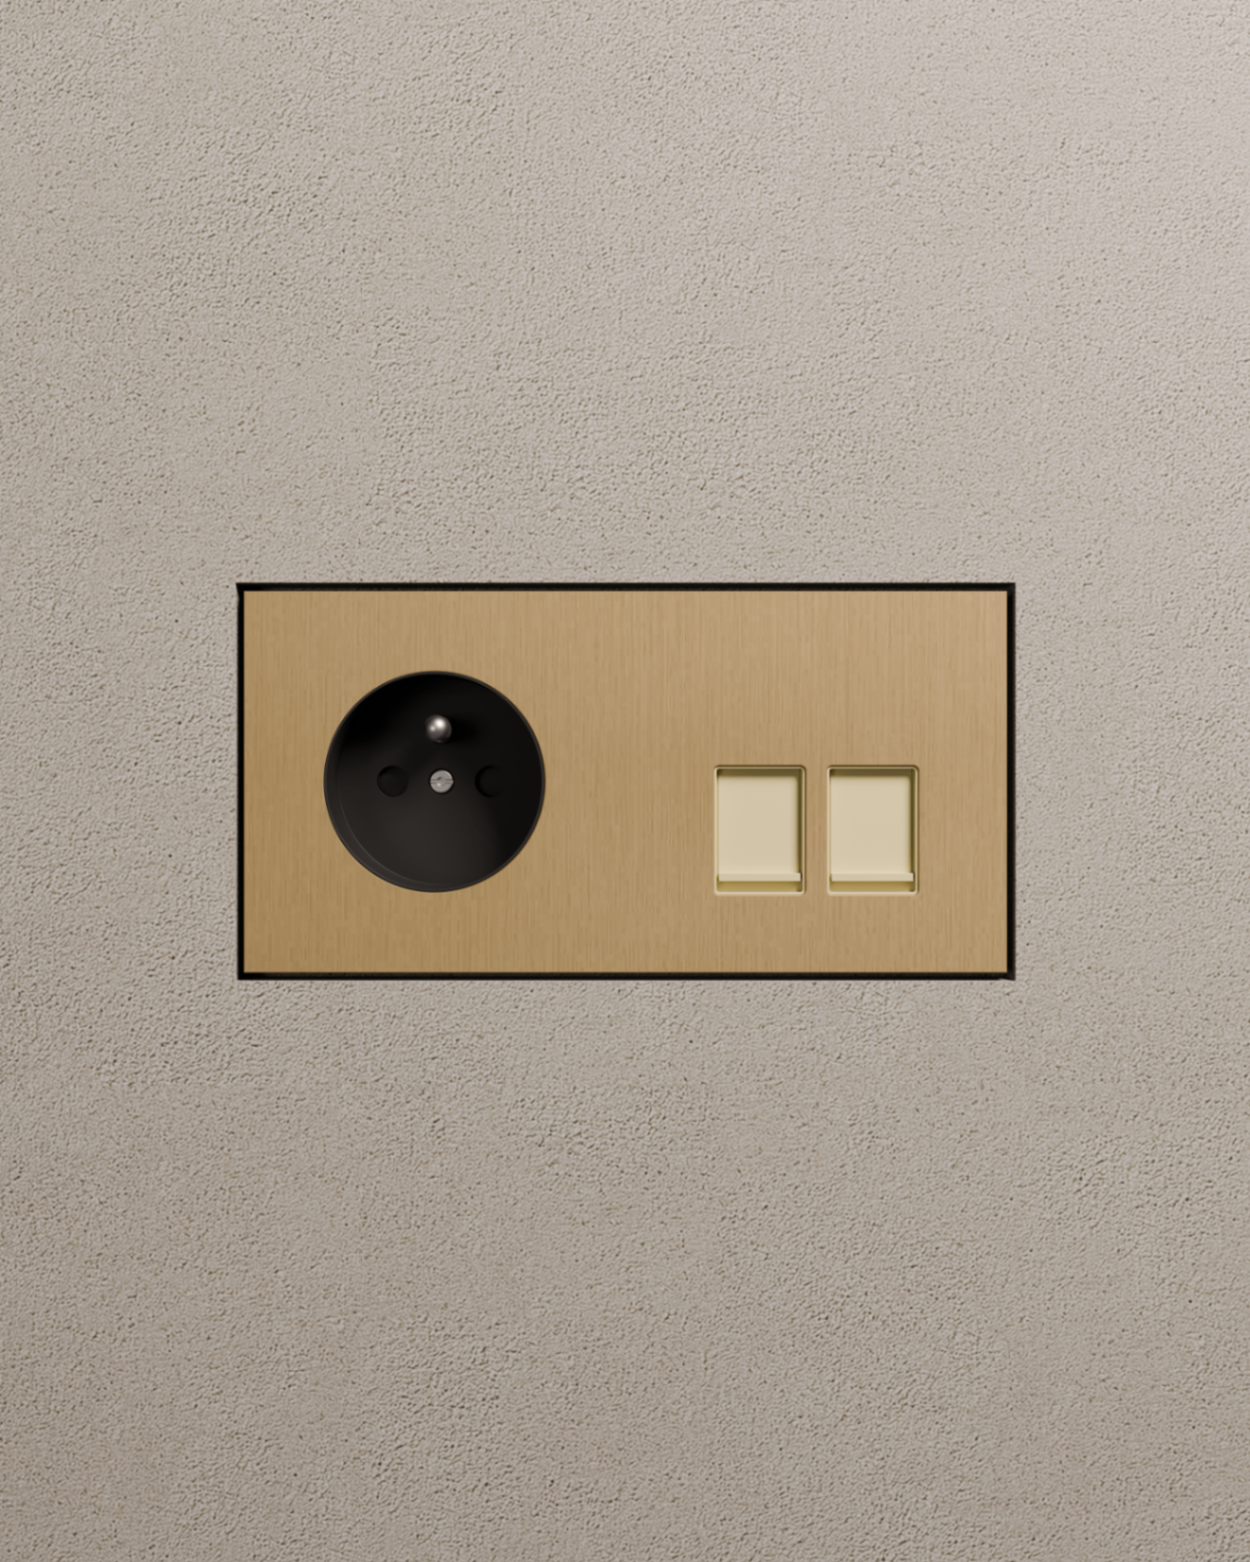
Unified render set for the new VisibleV website 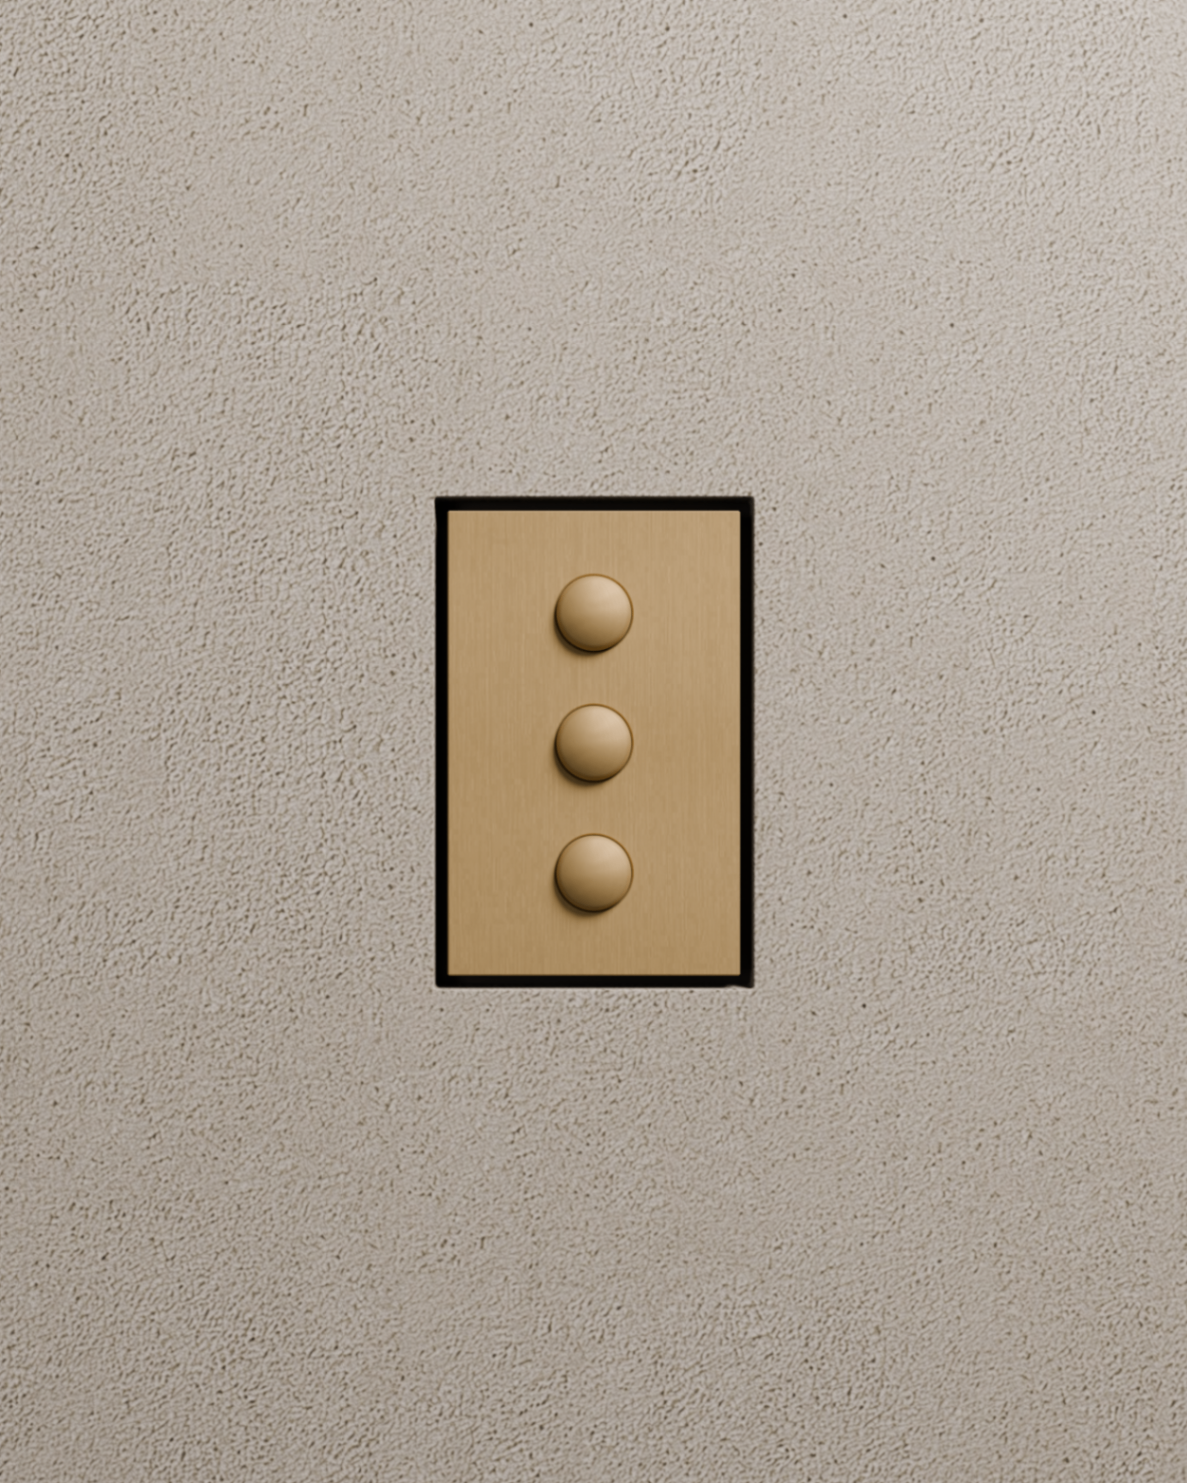
Step 02
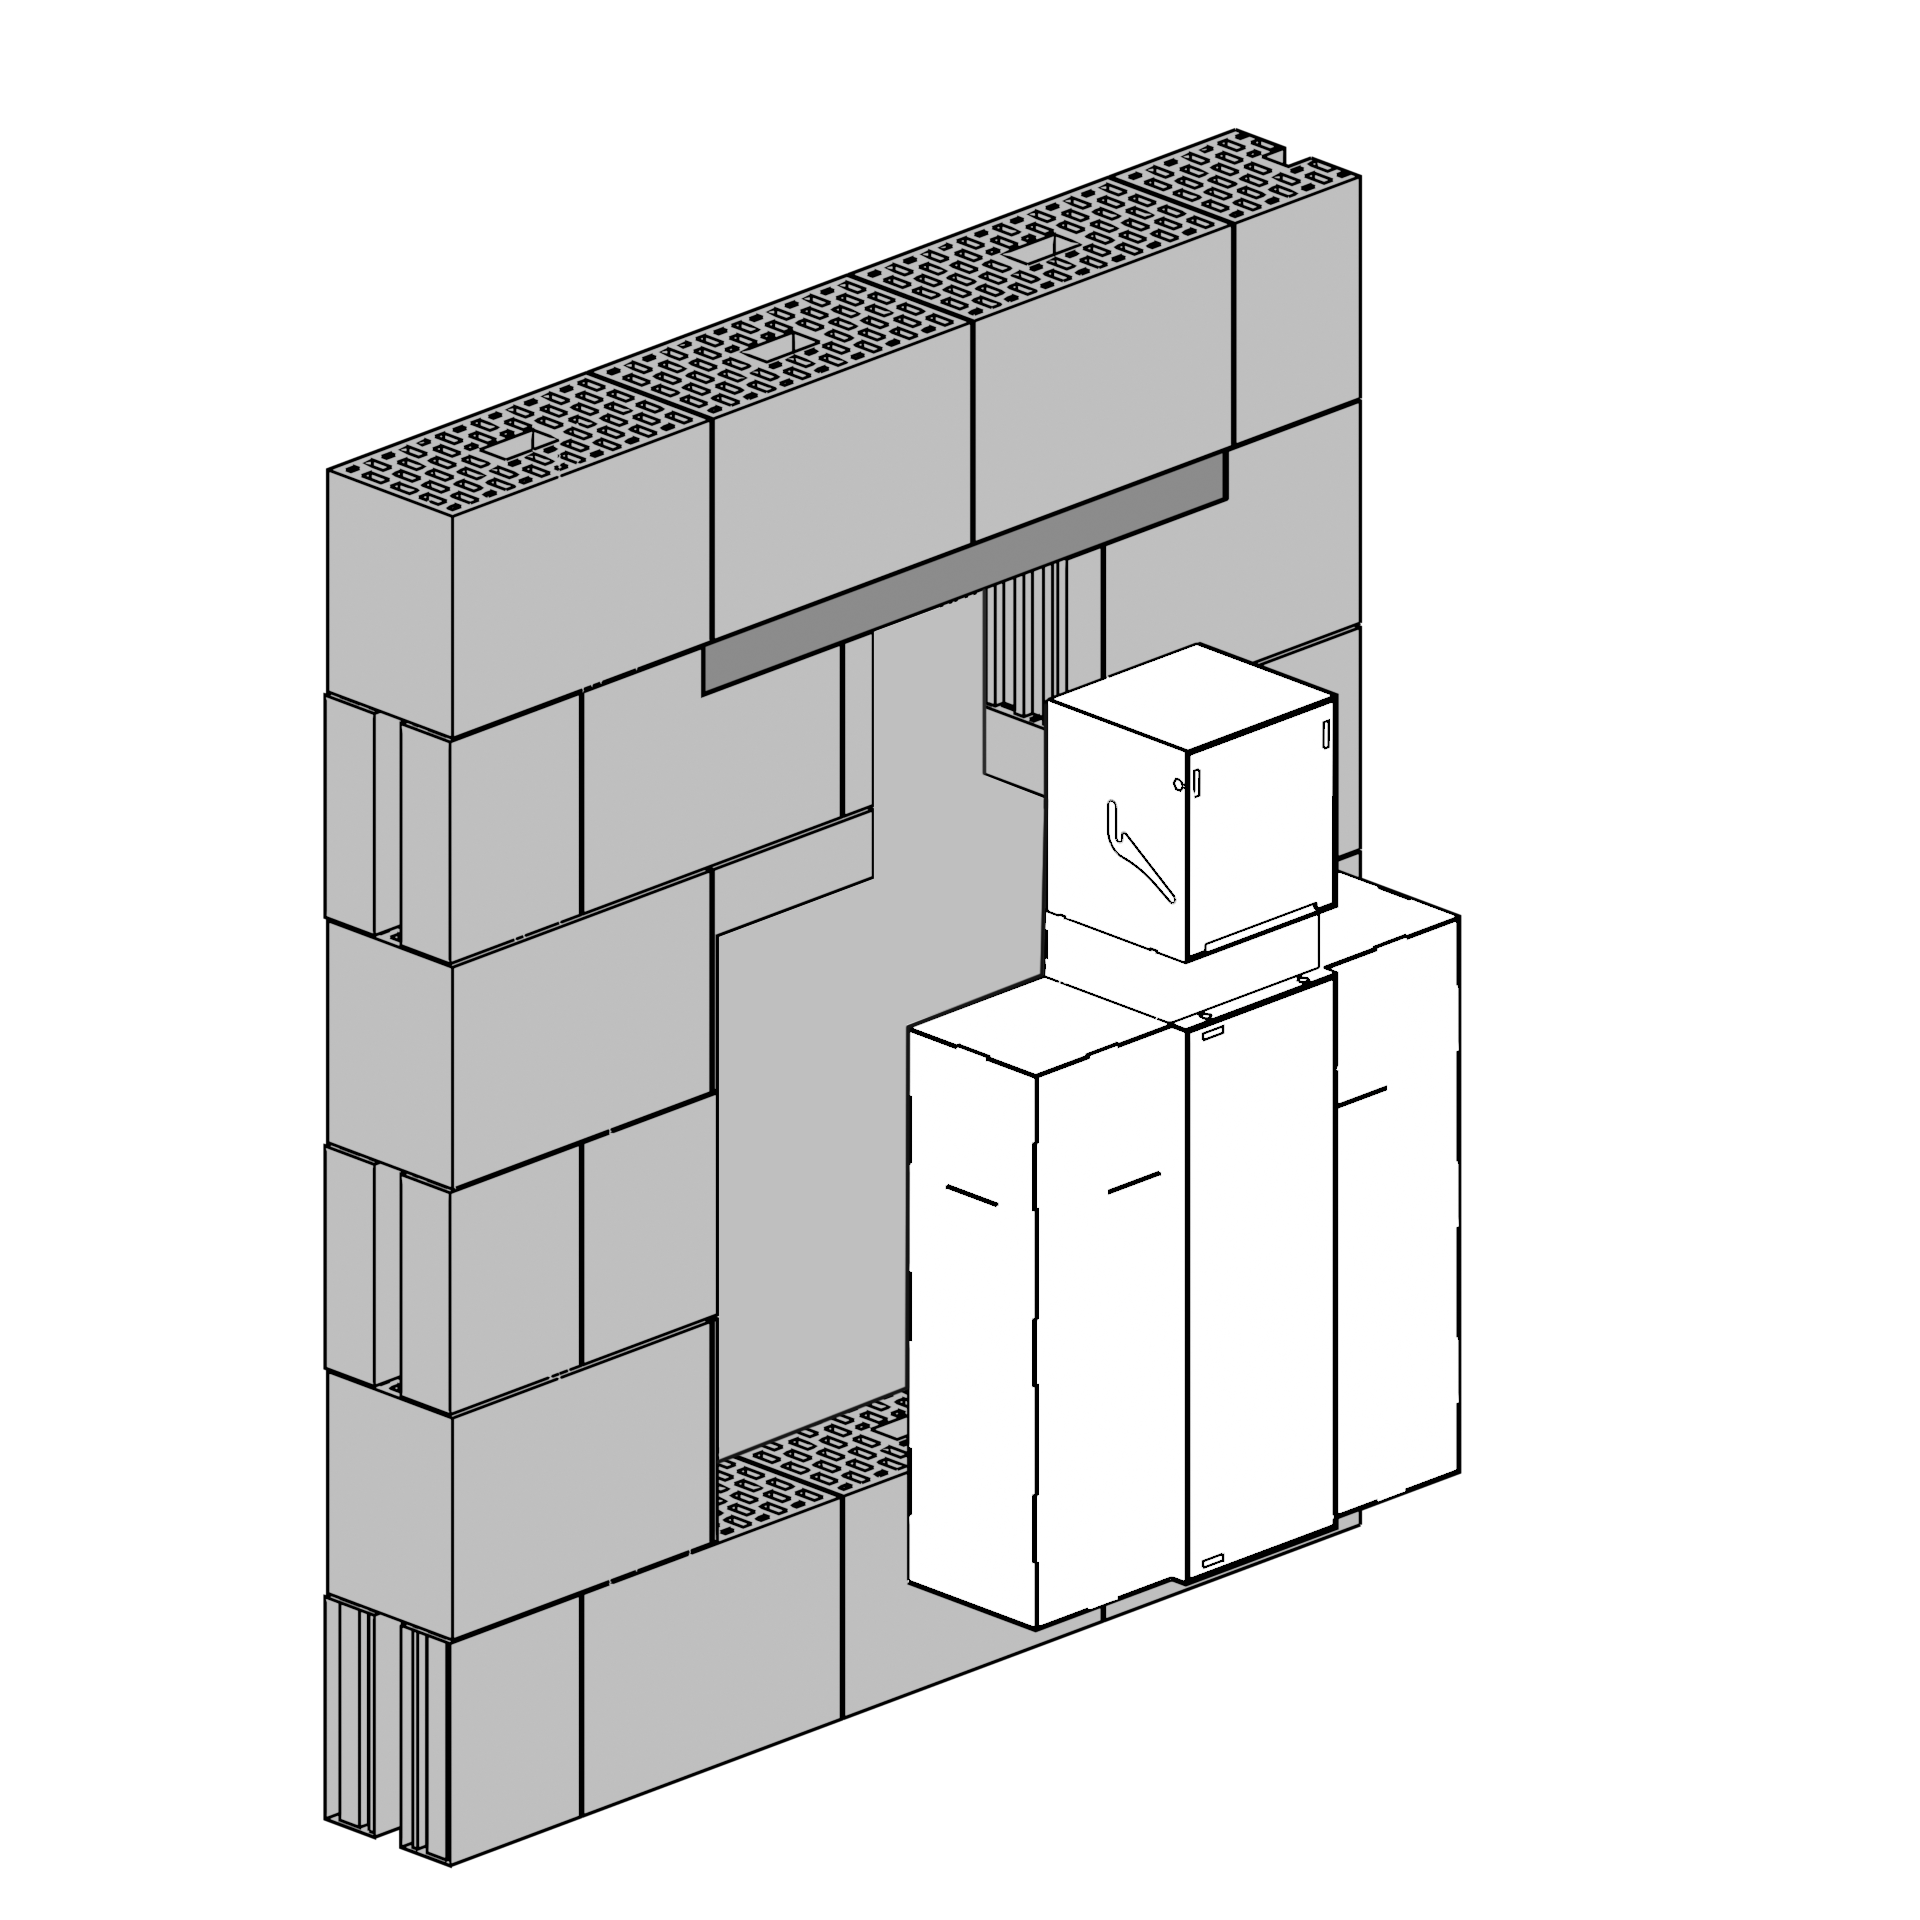
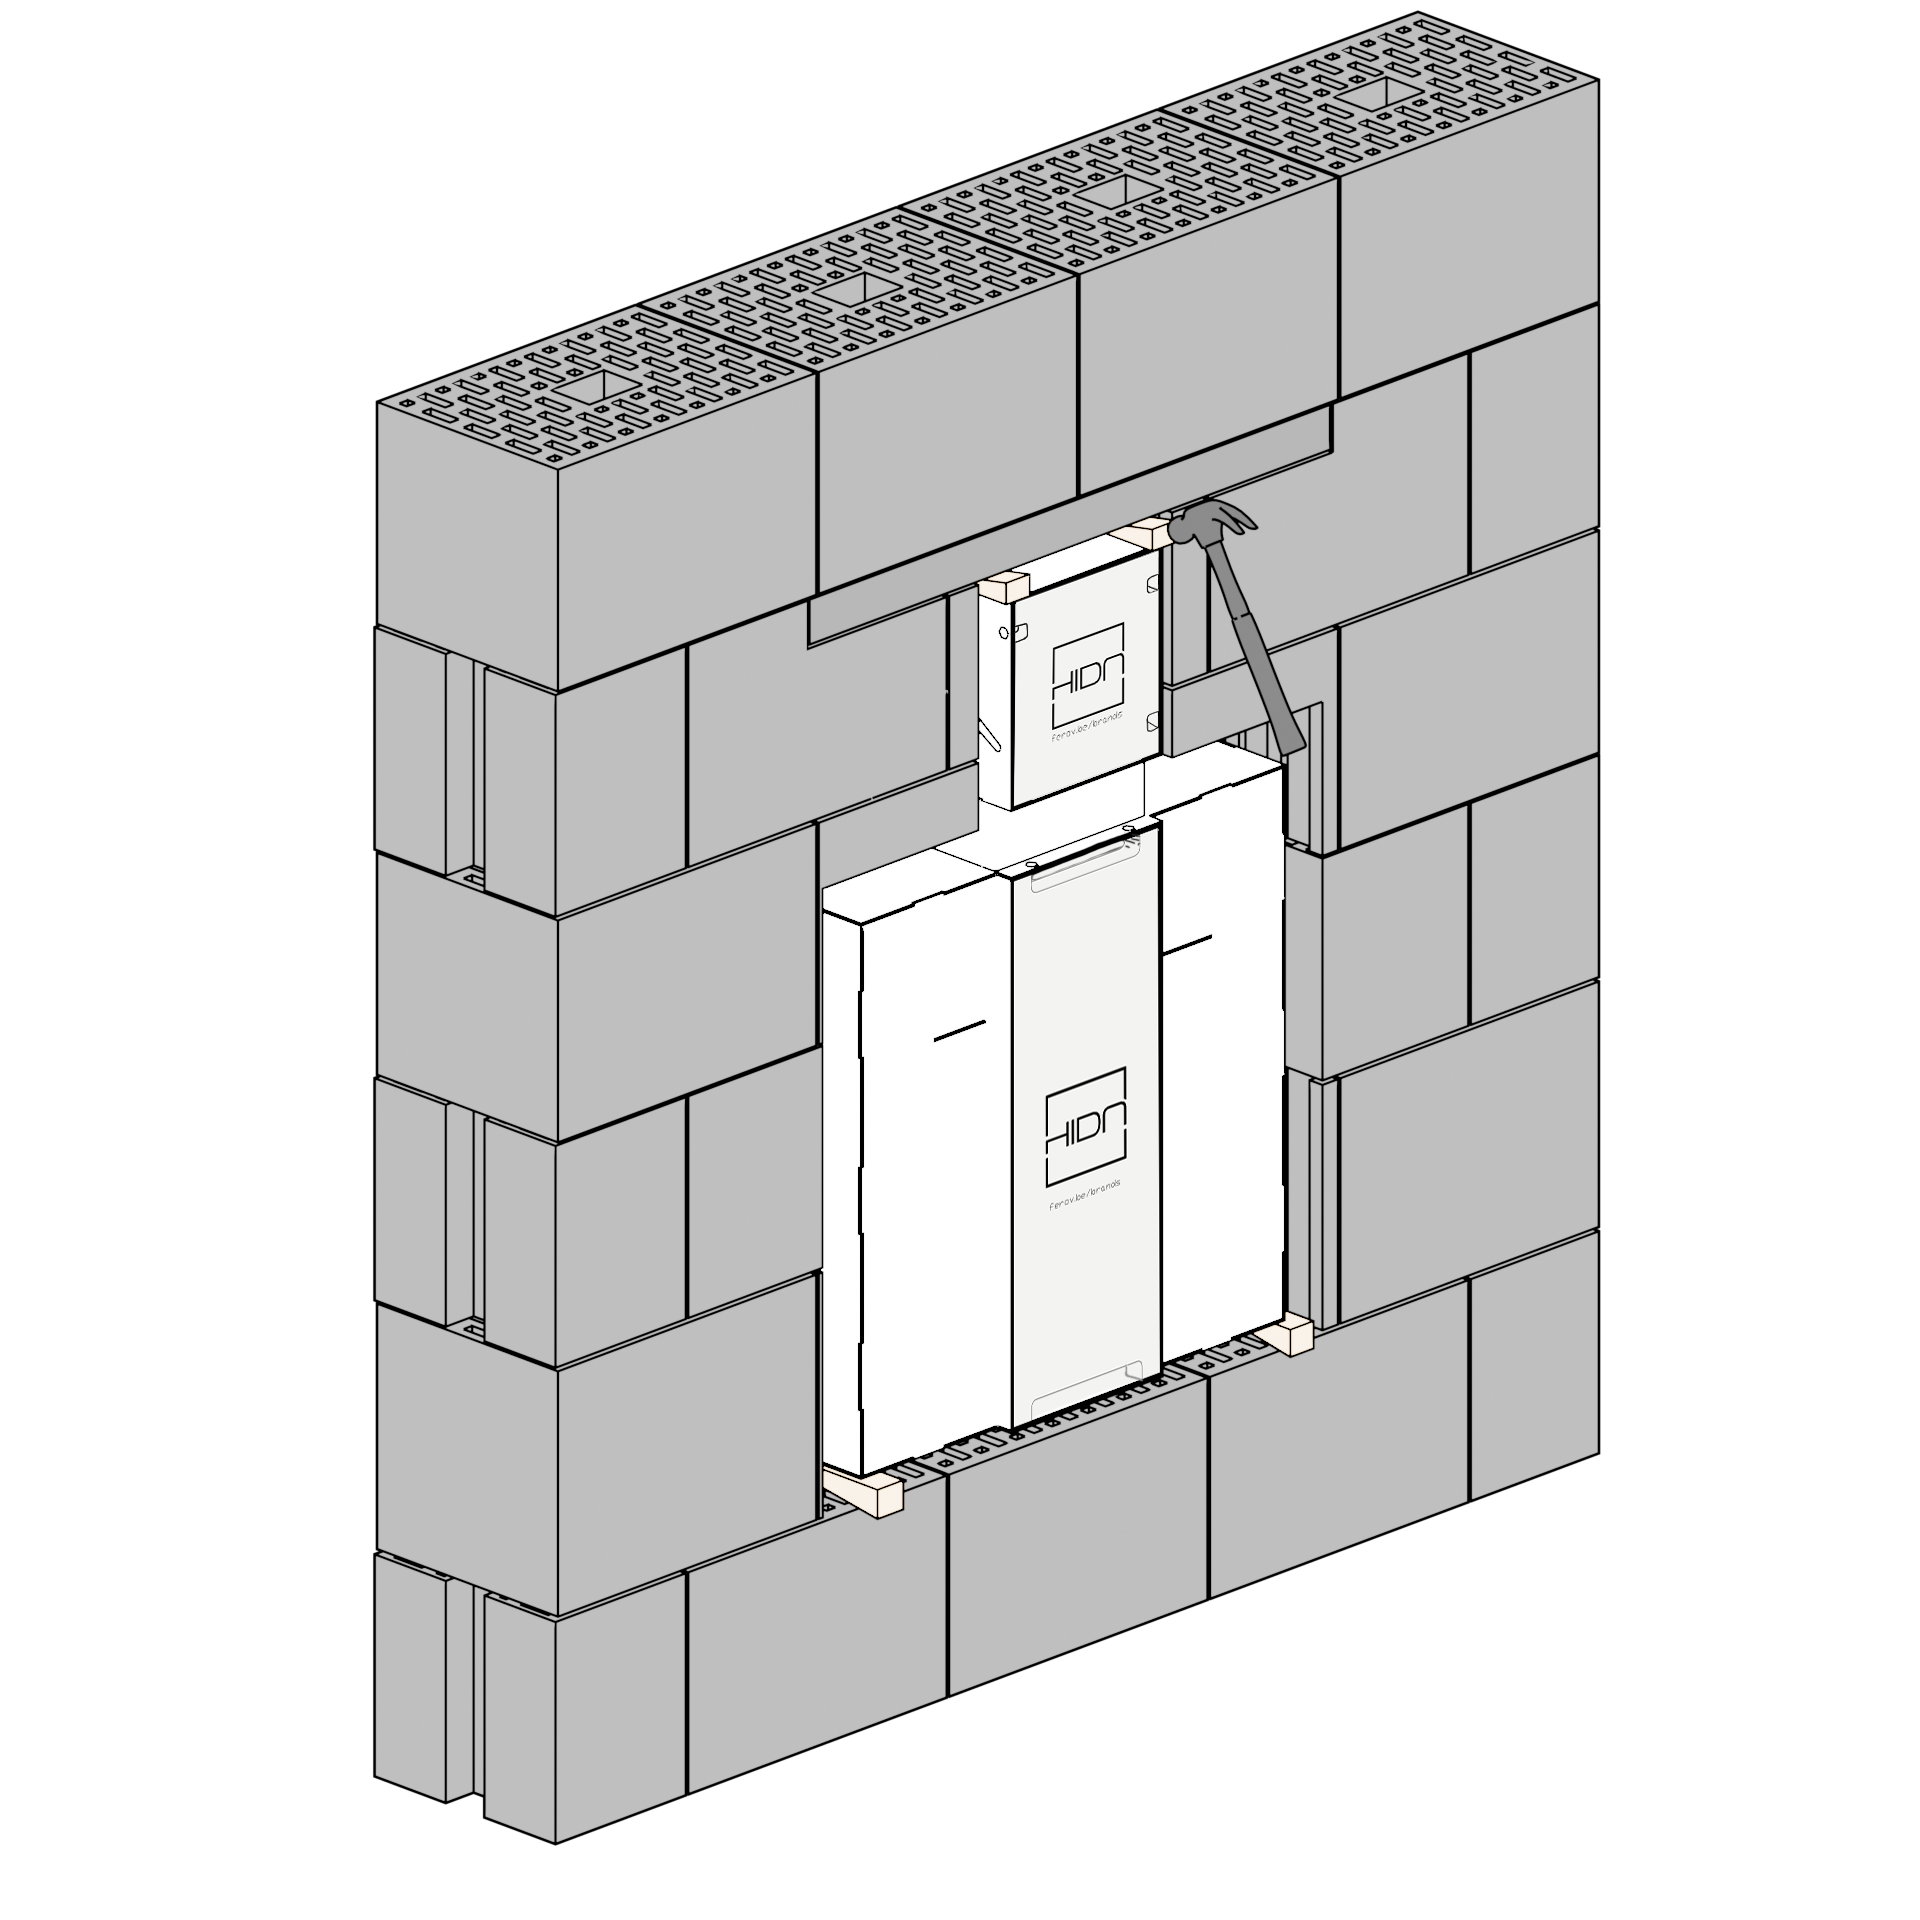
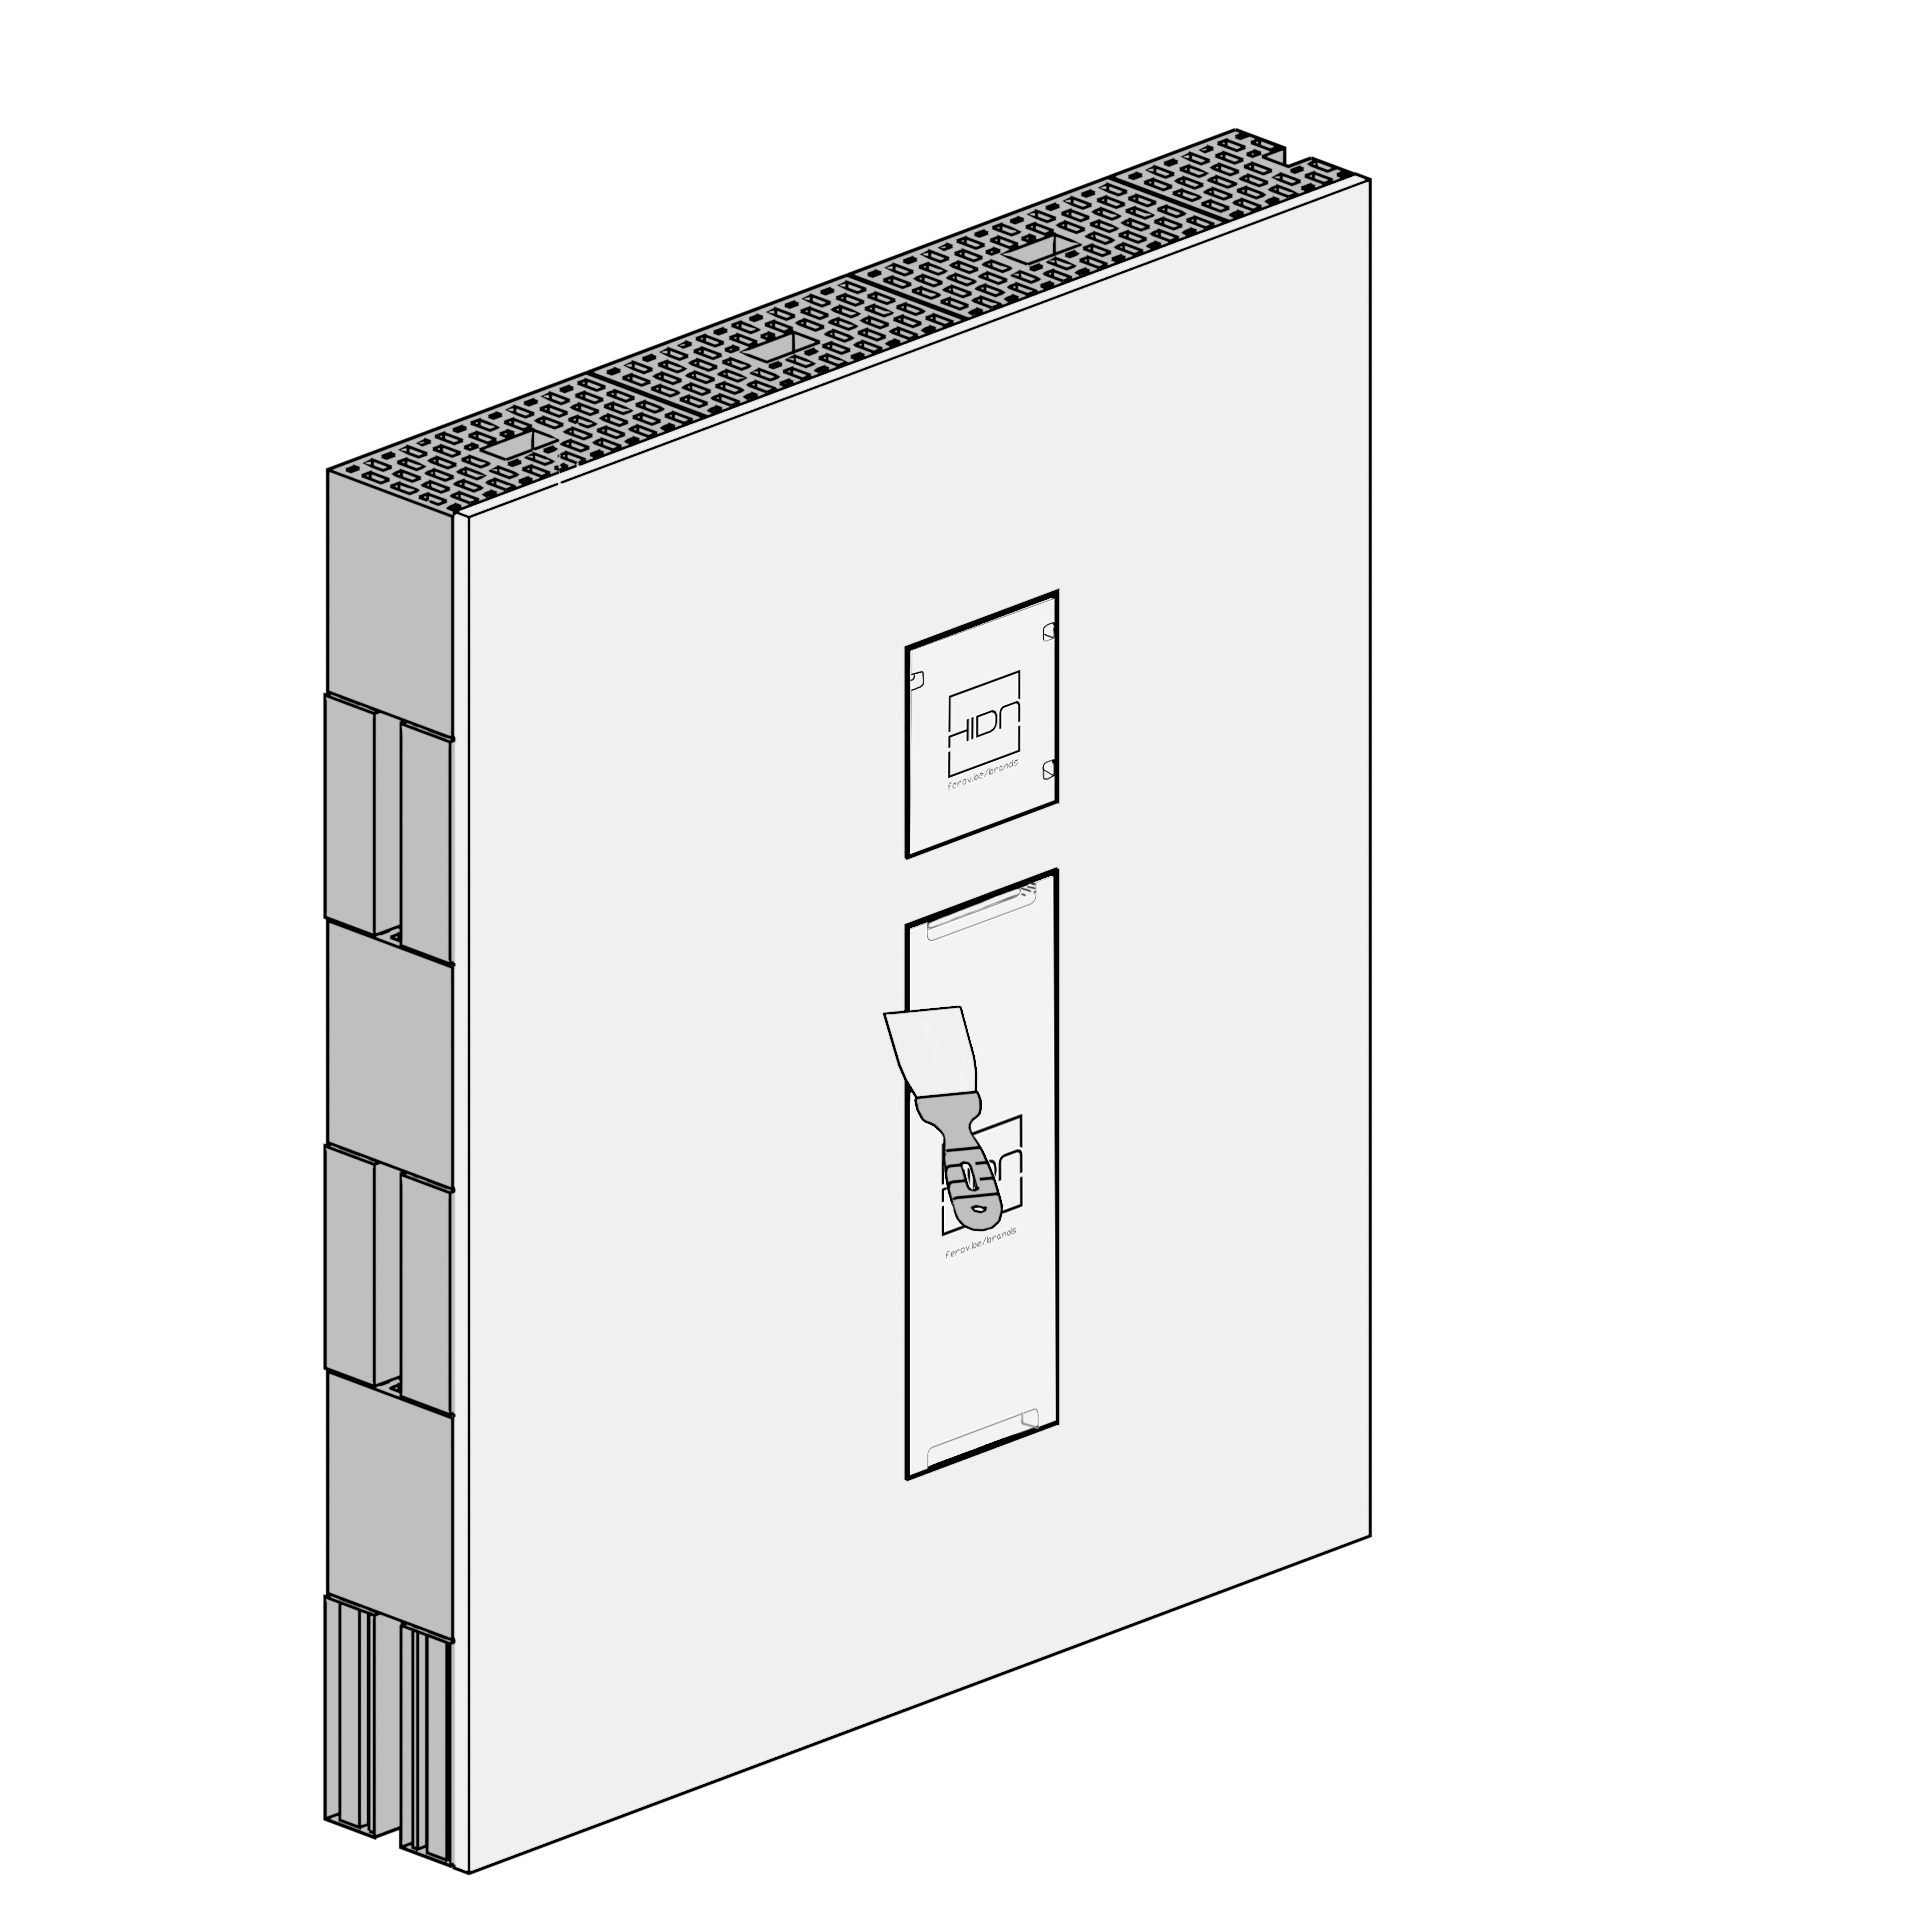
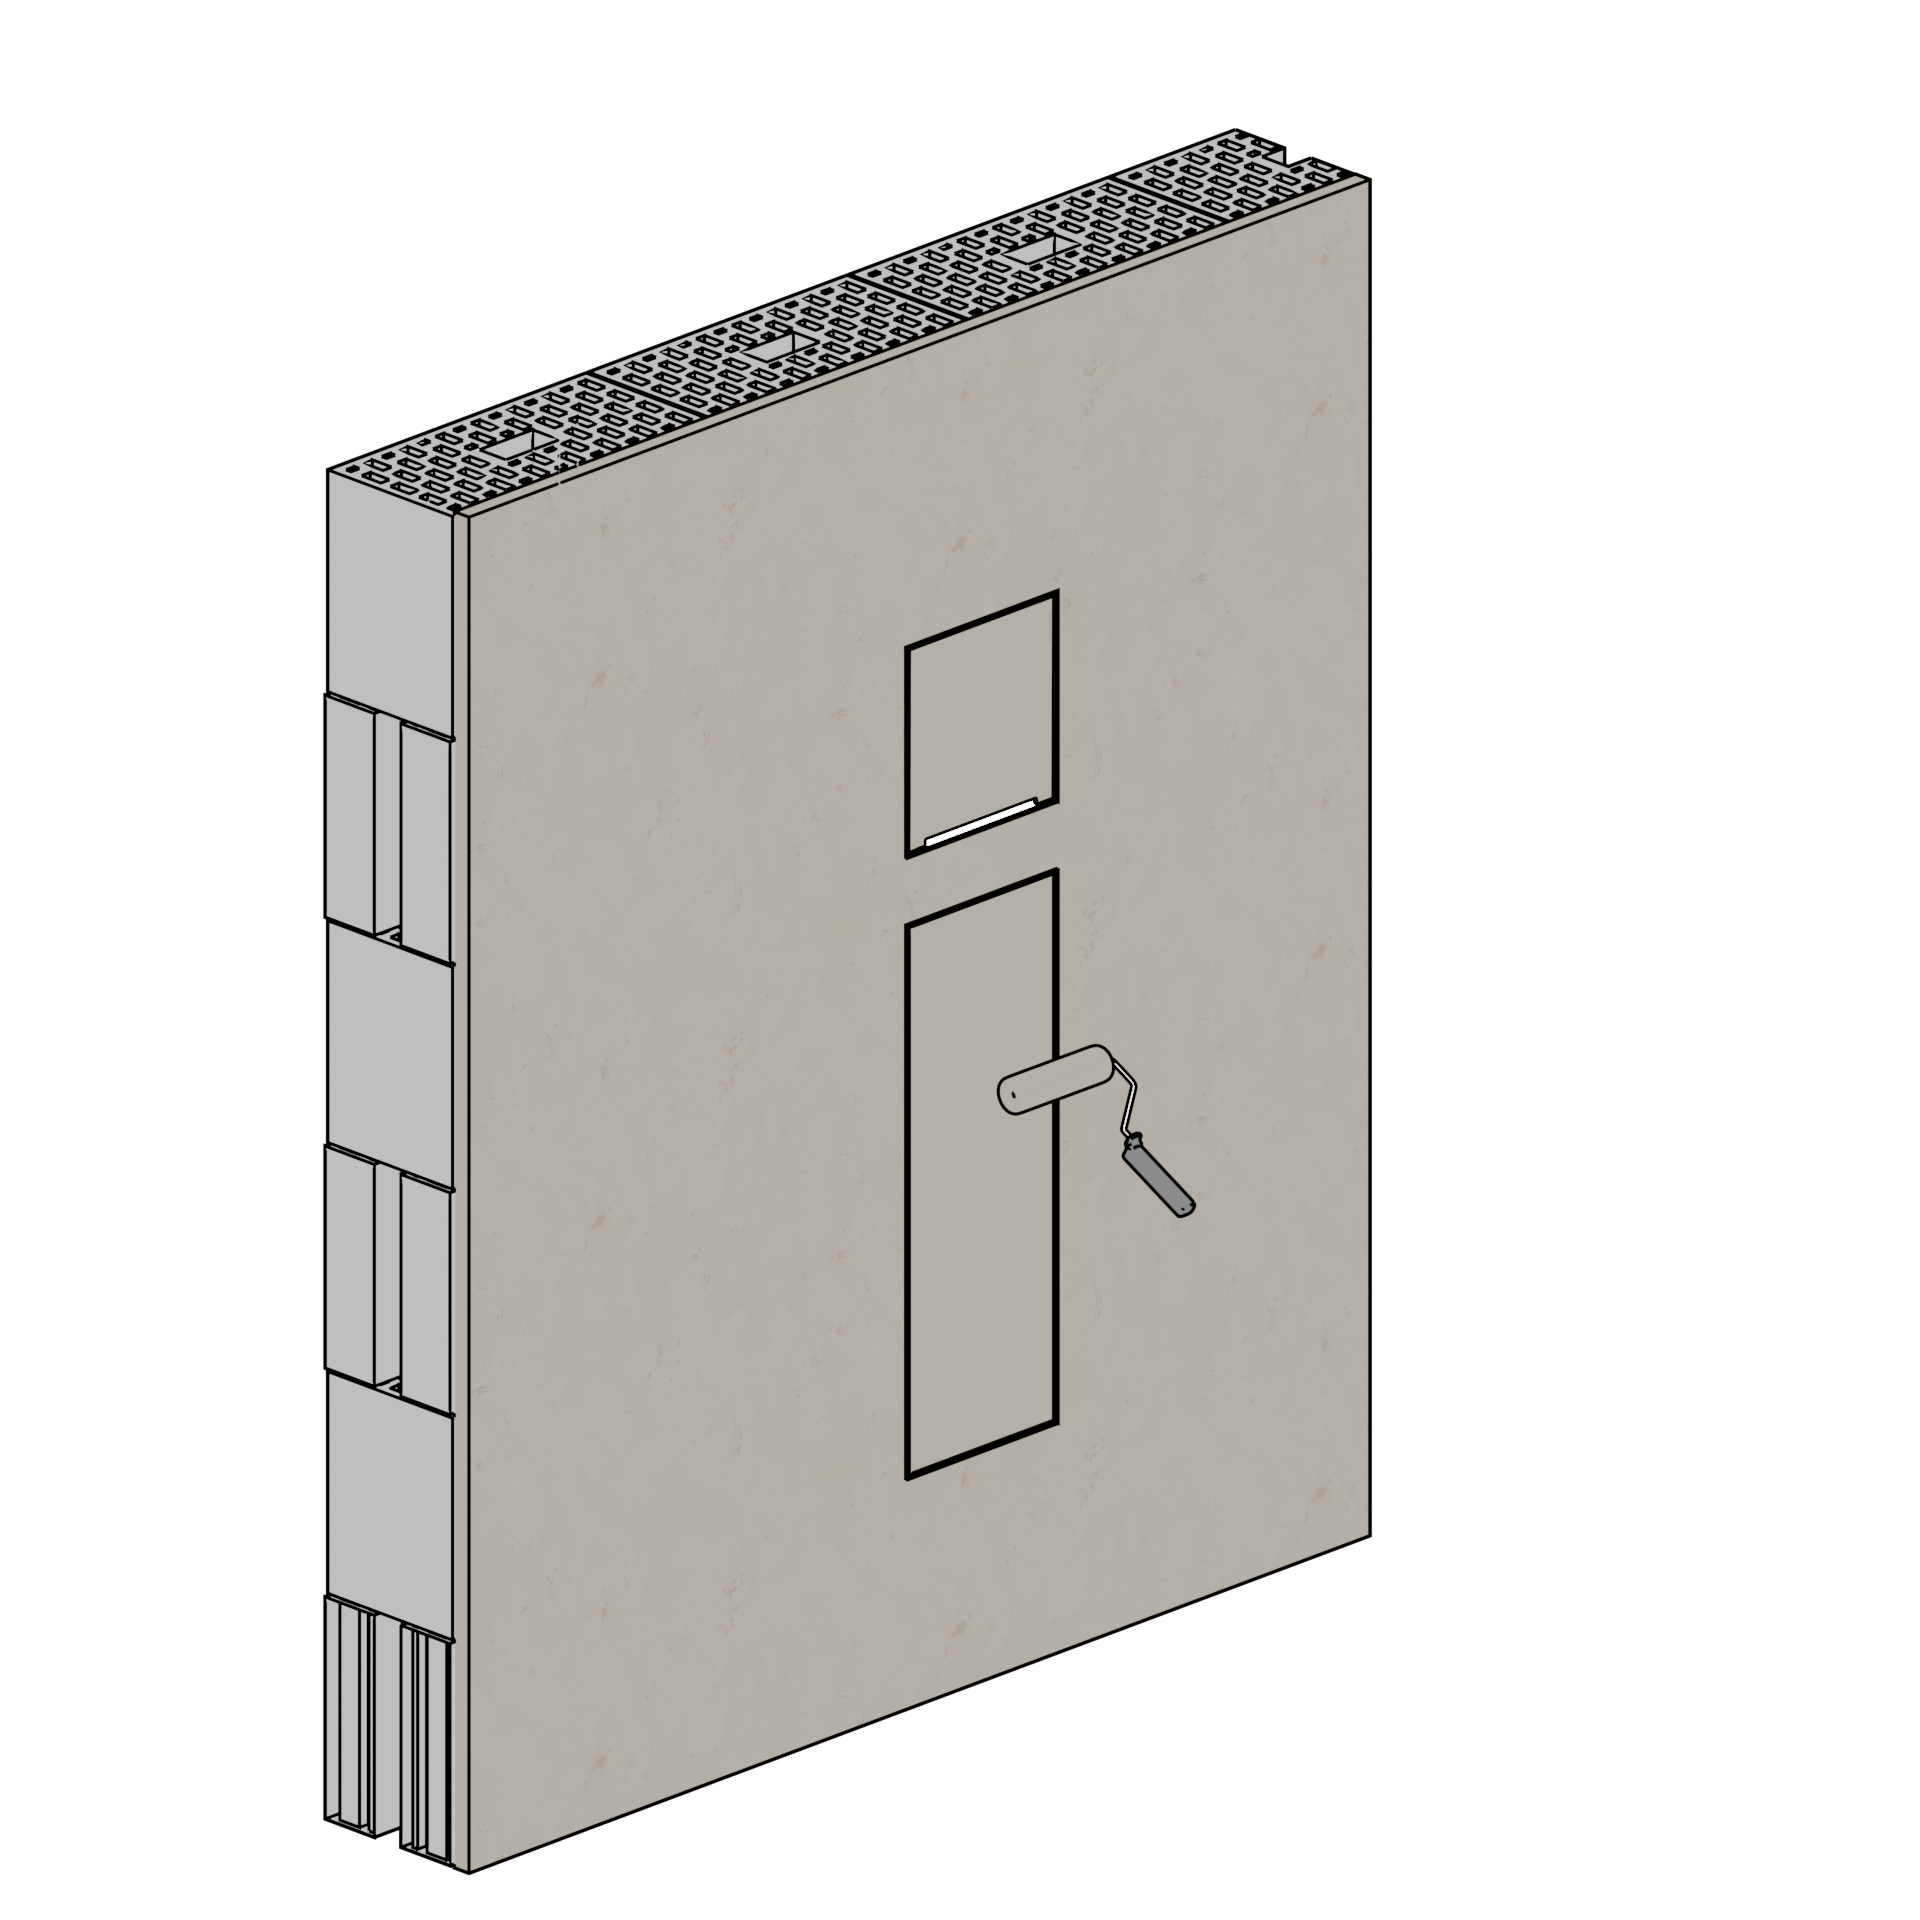
HIDN installation manual
Step-by-step isometric visualisations I made for the HIDN Roll & storage installation manual — showing the recess in the block wall, the MDF screed plate, the protective packaging and the final installed unit. Each view isolates only the parts relevant to that step so an installer can follow it straight from the page.
Step 03
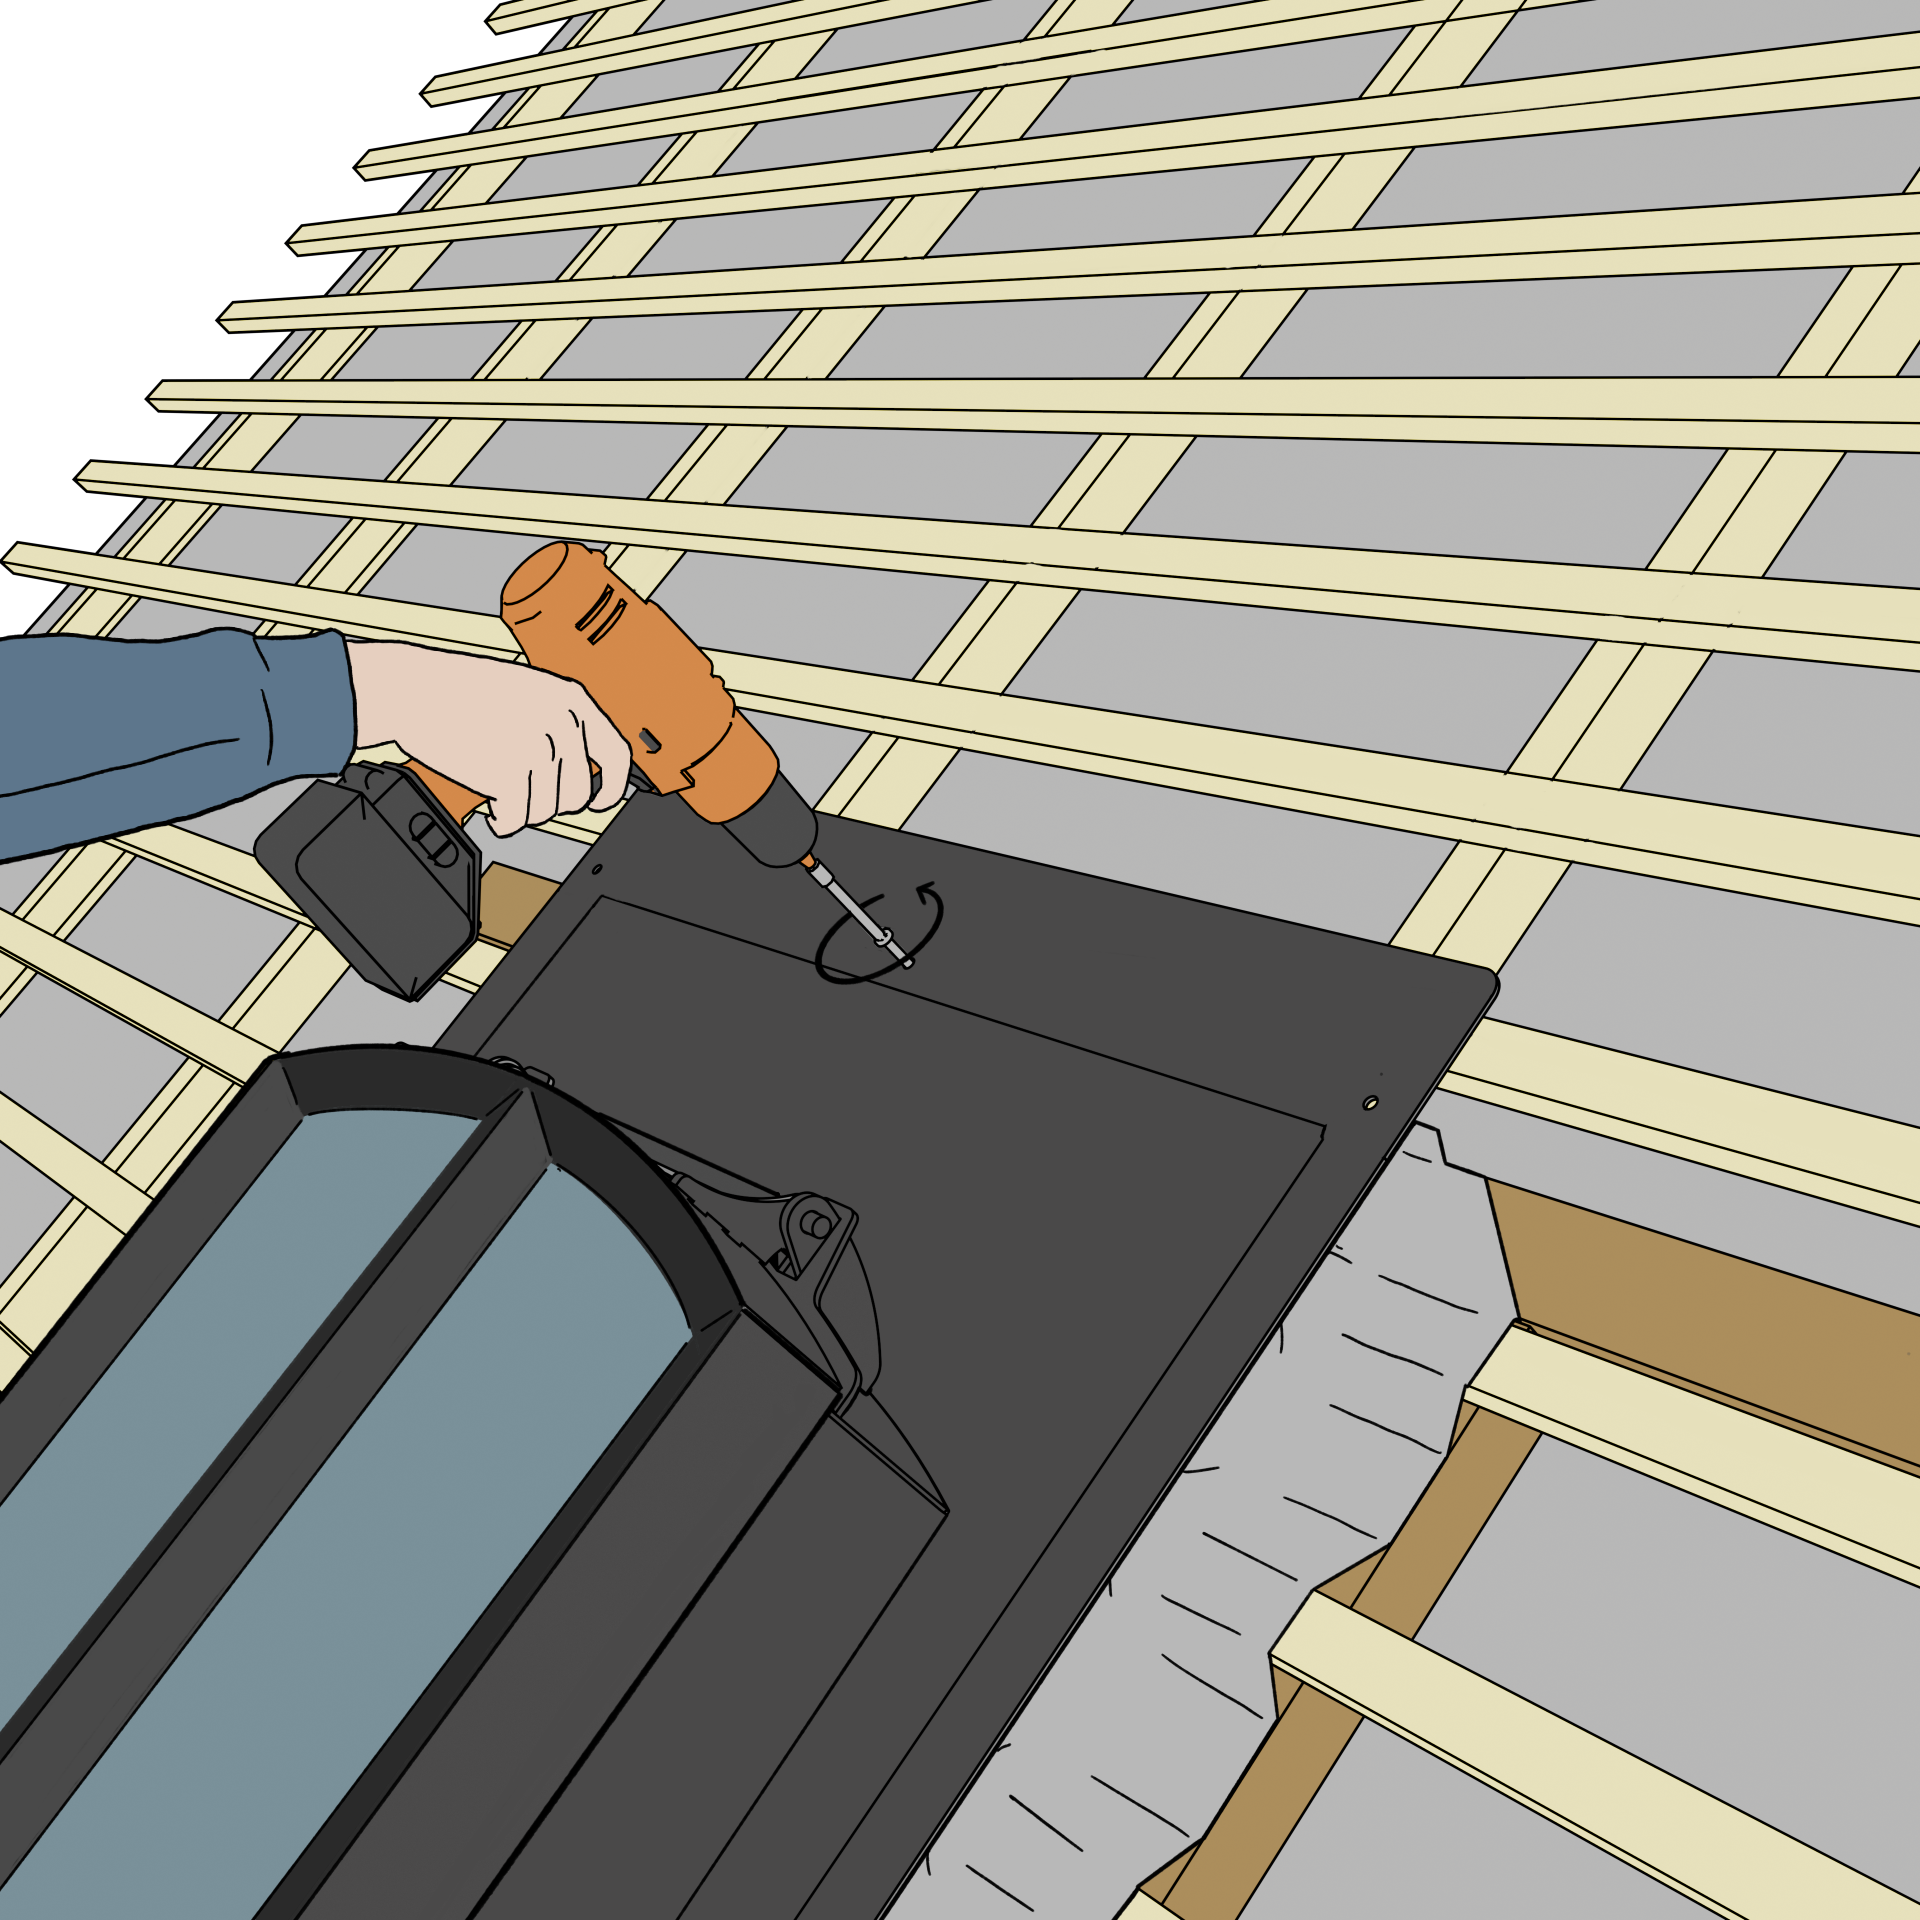
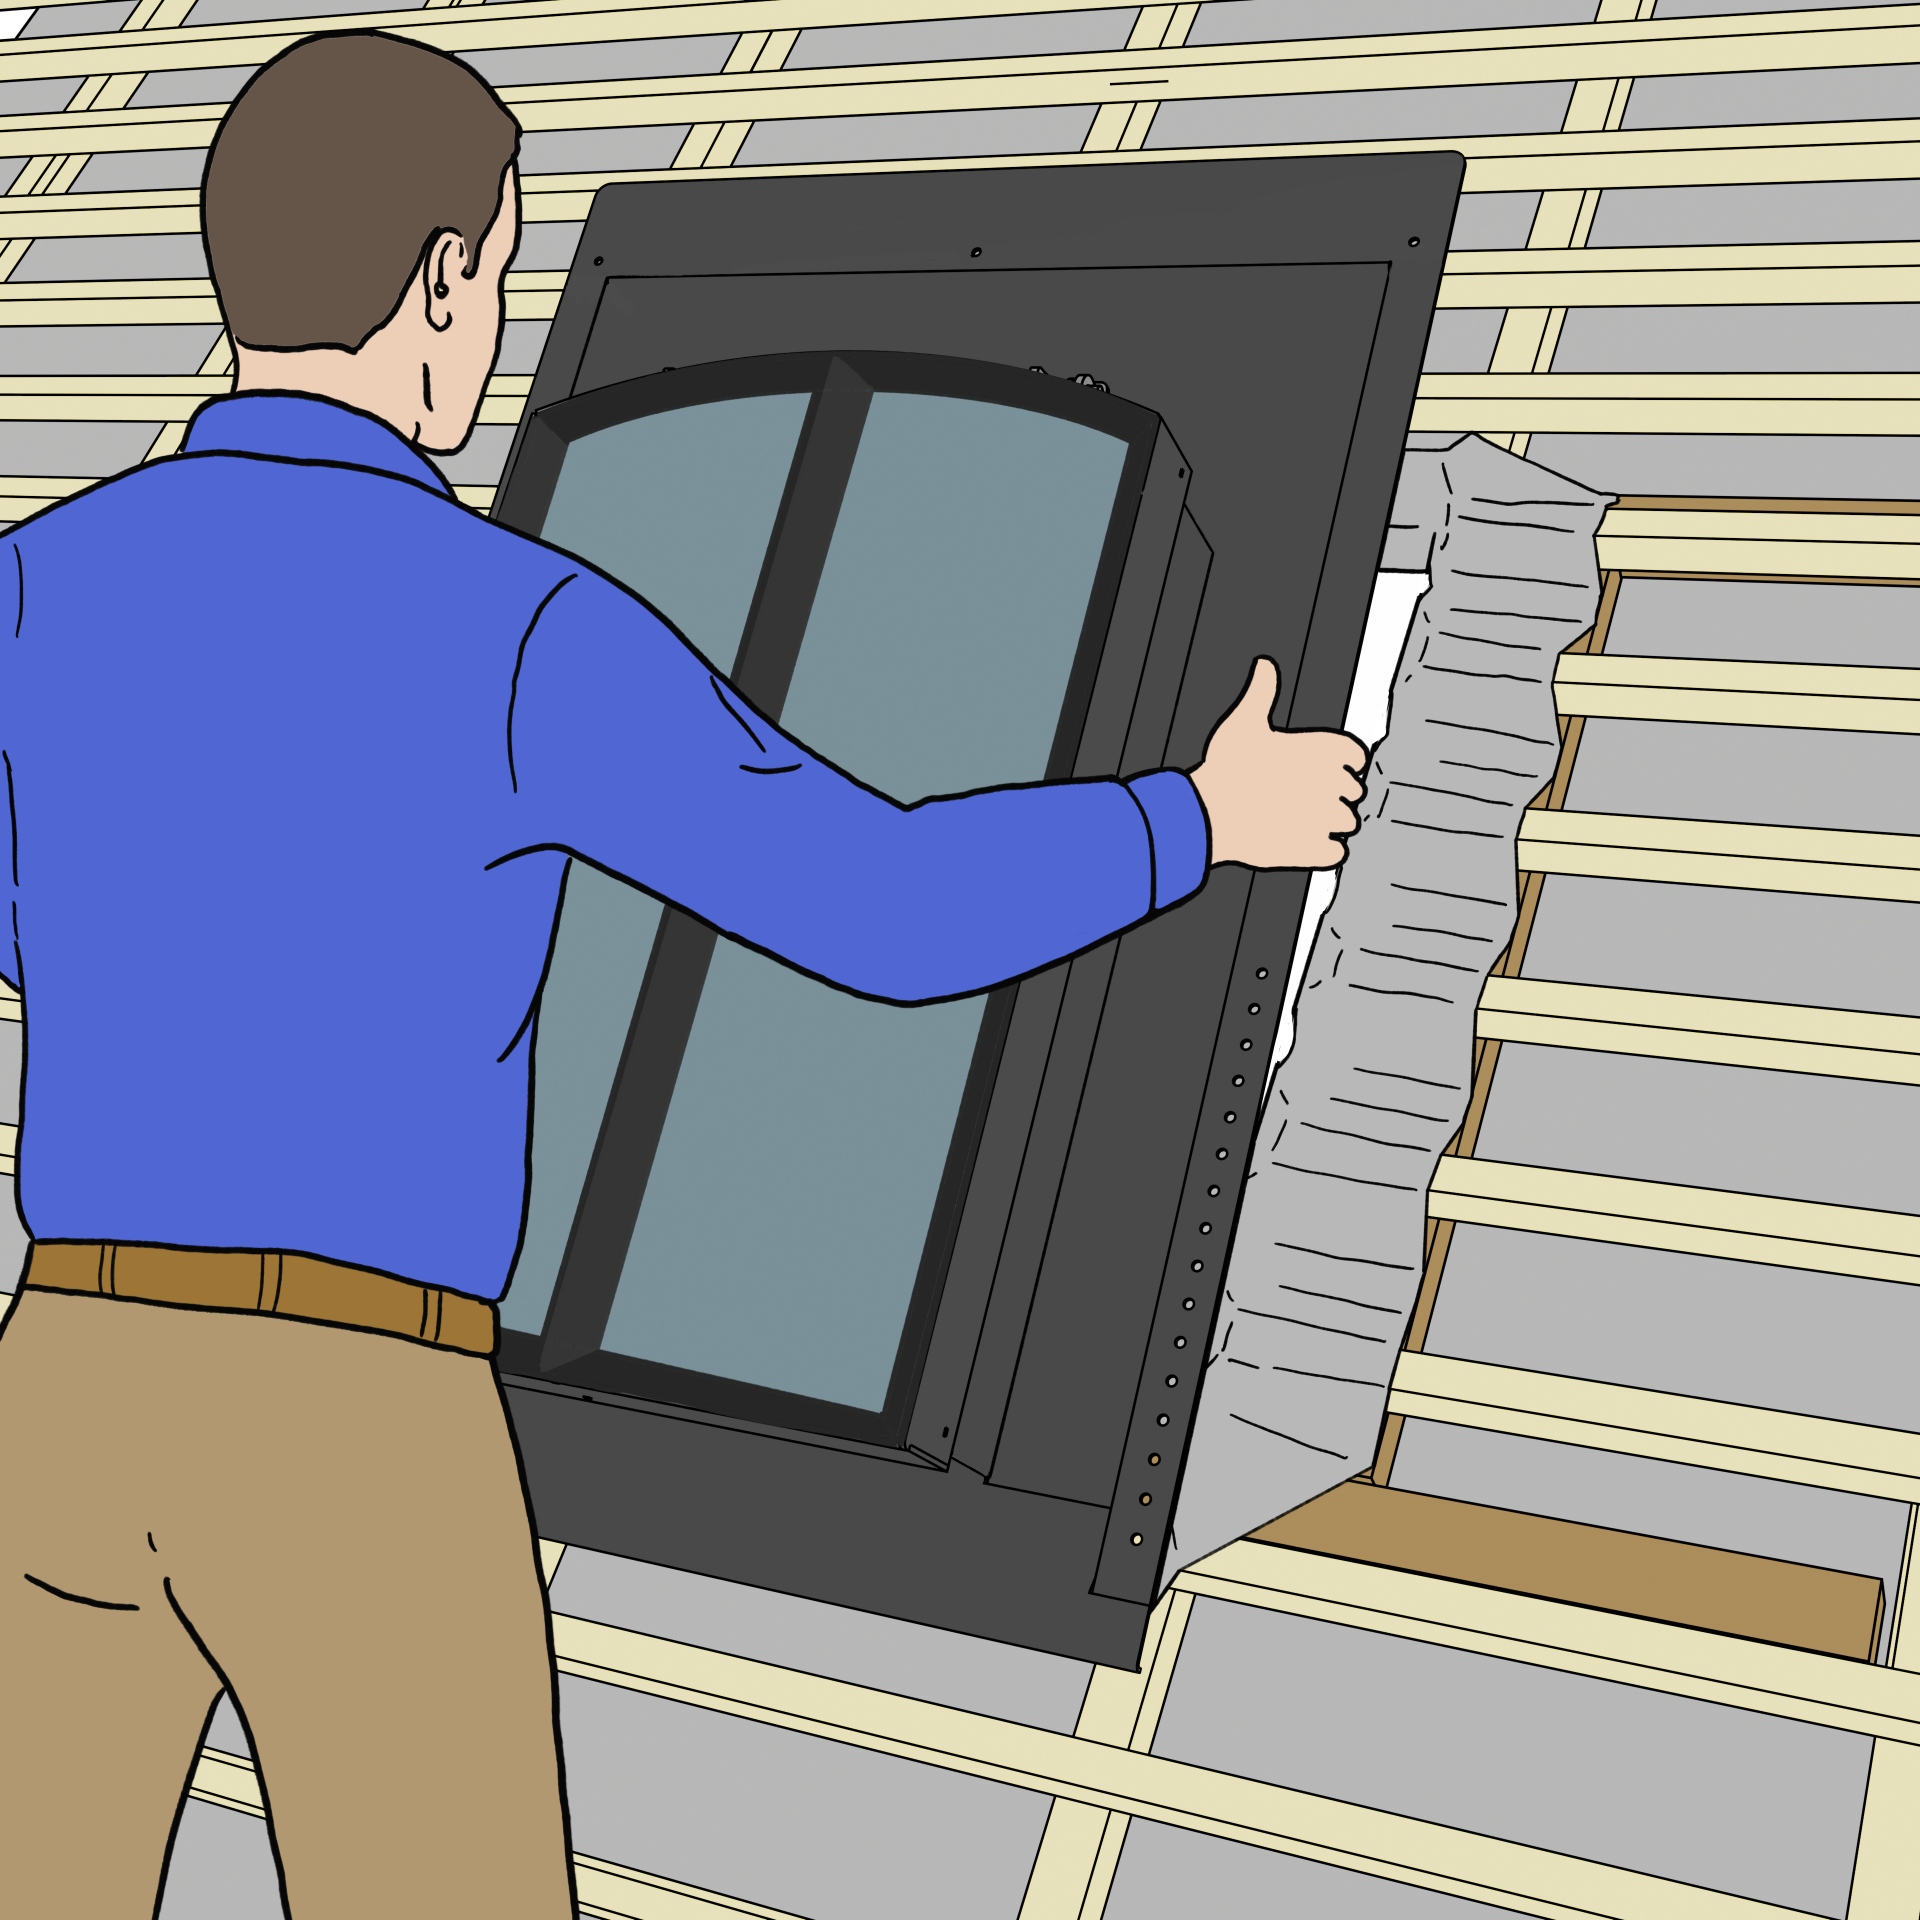
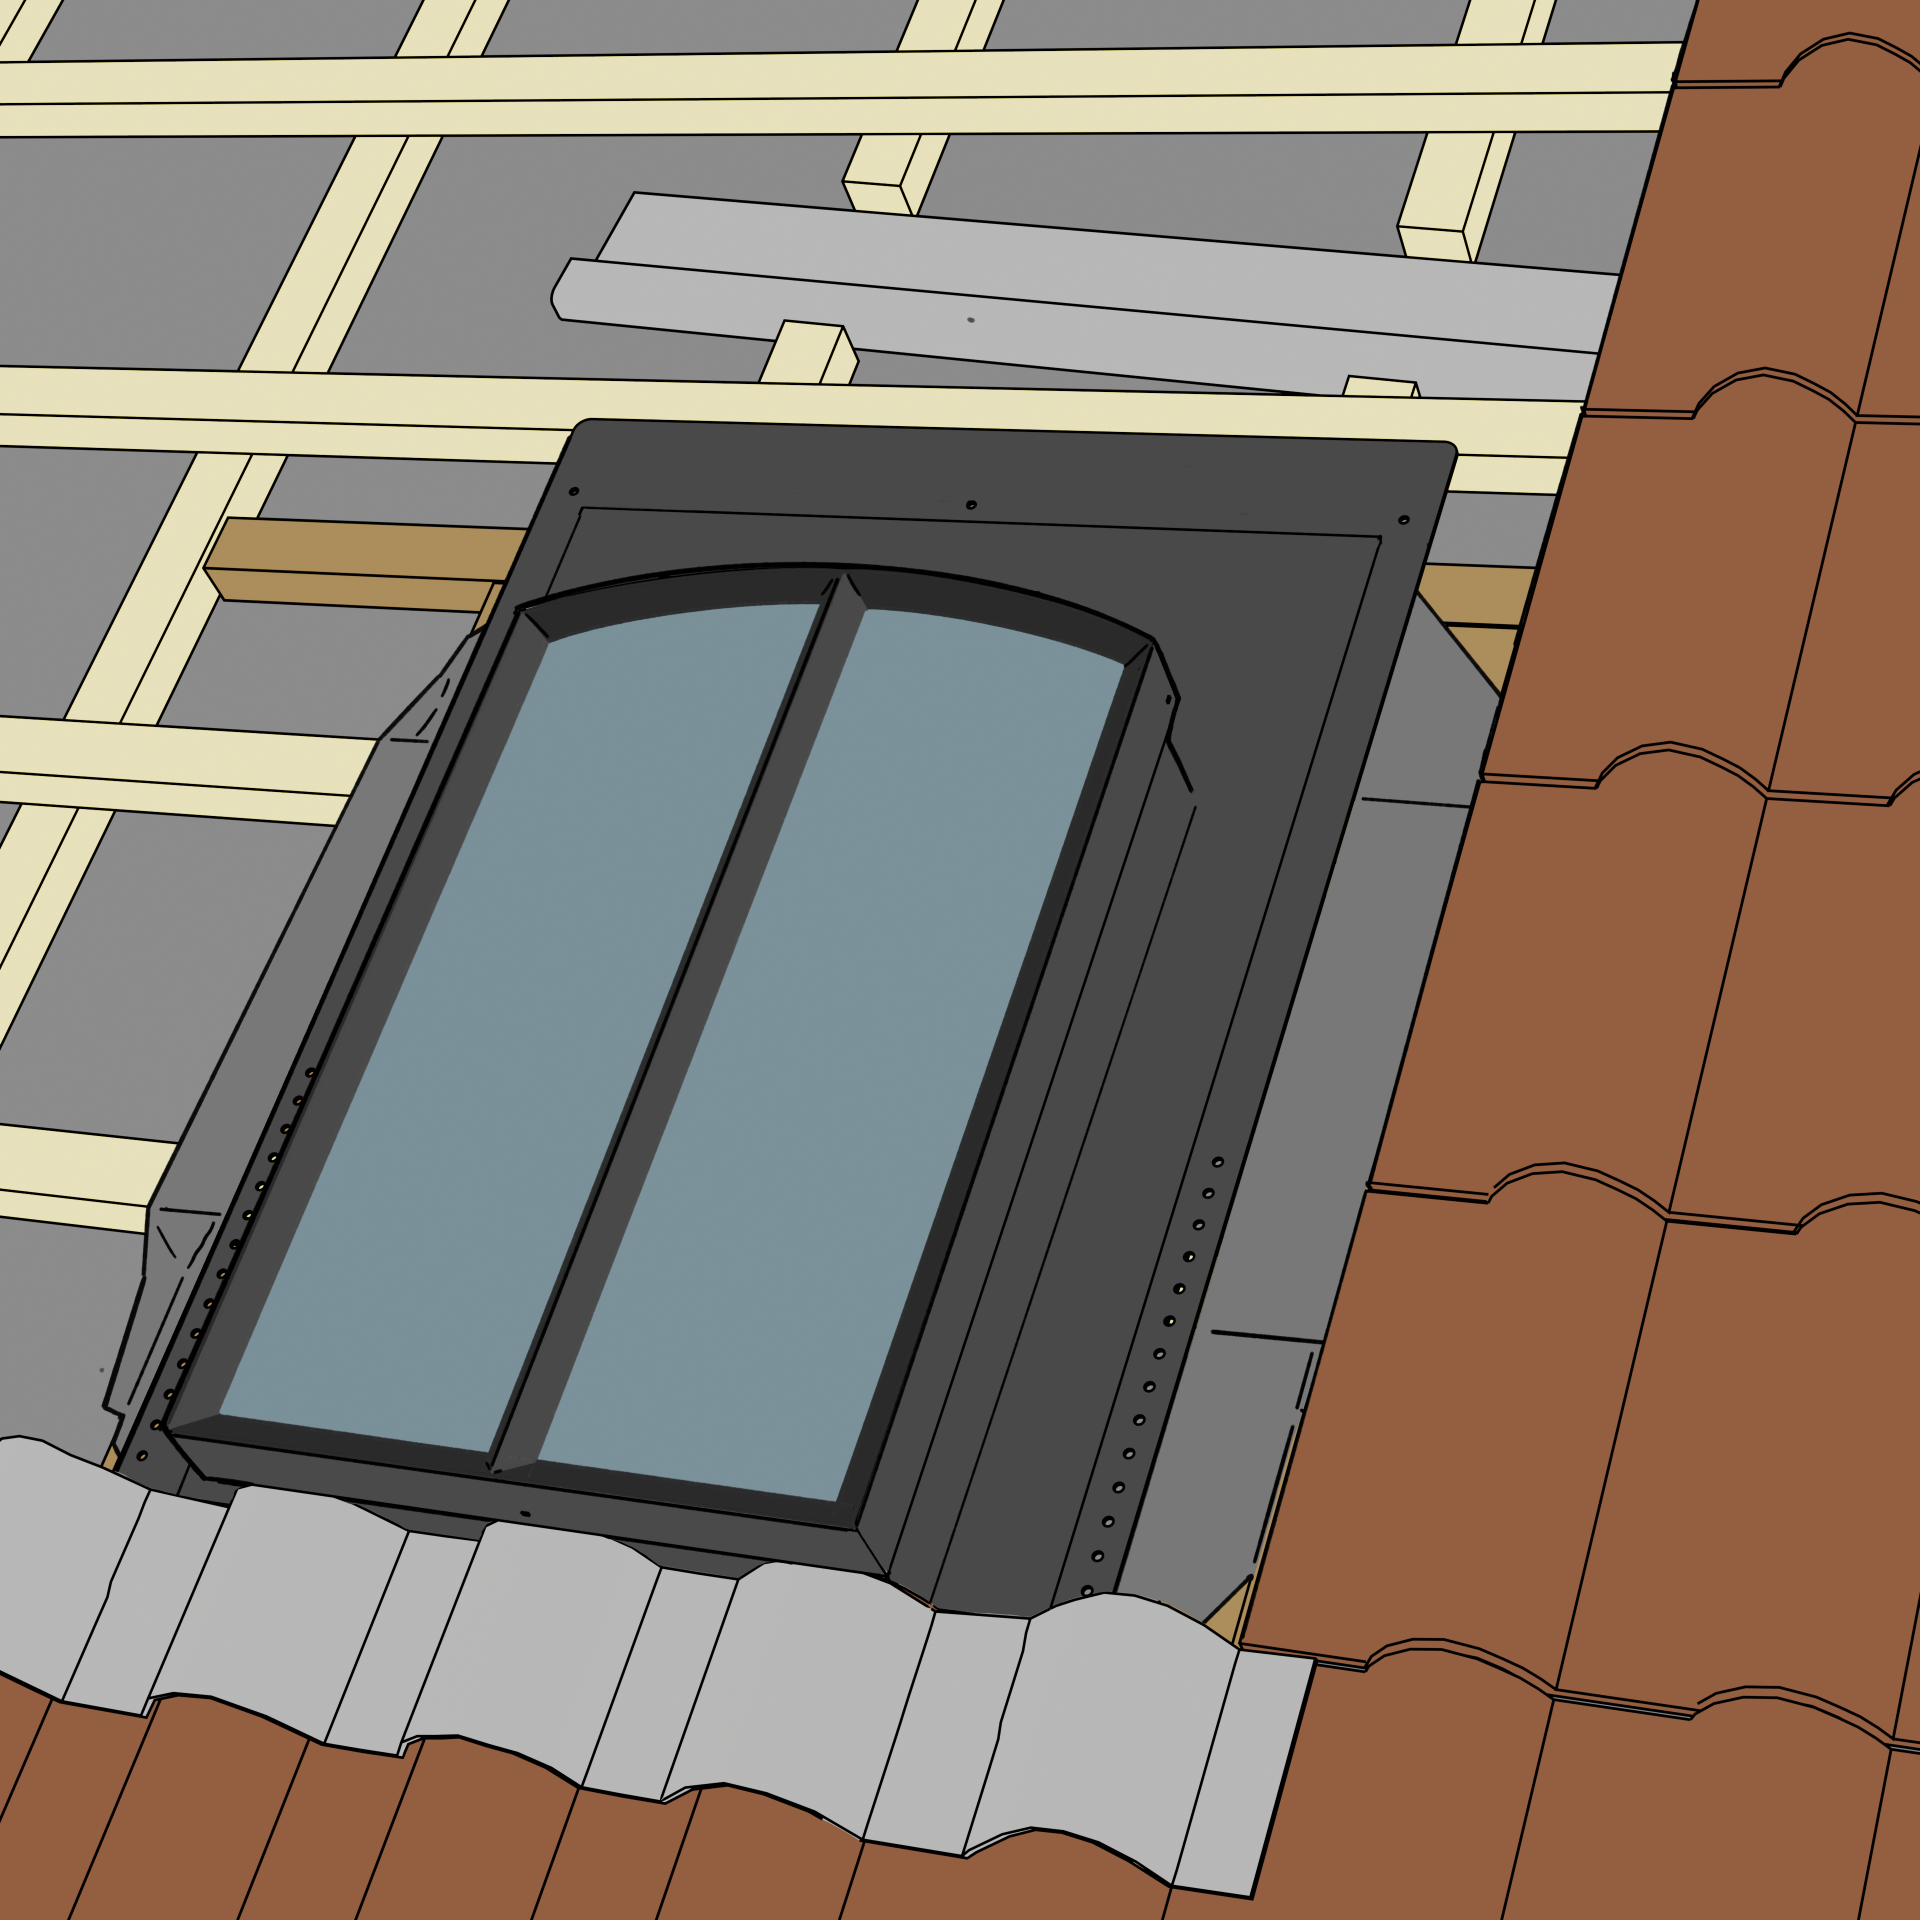
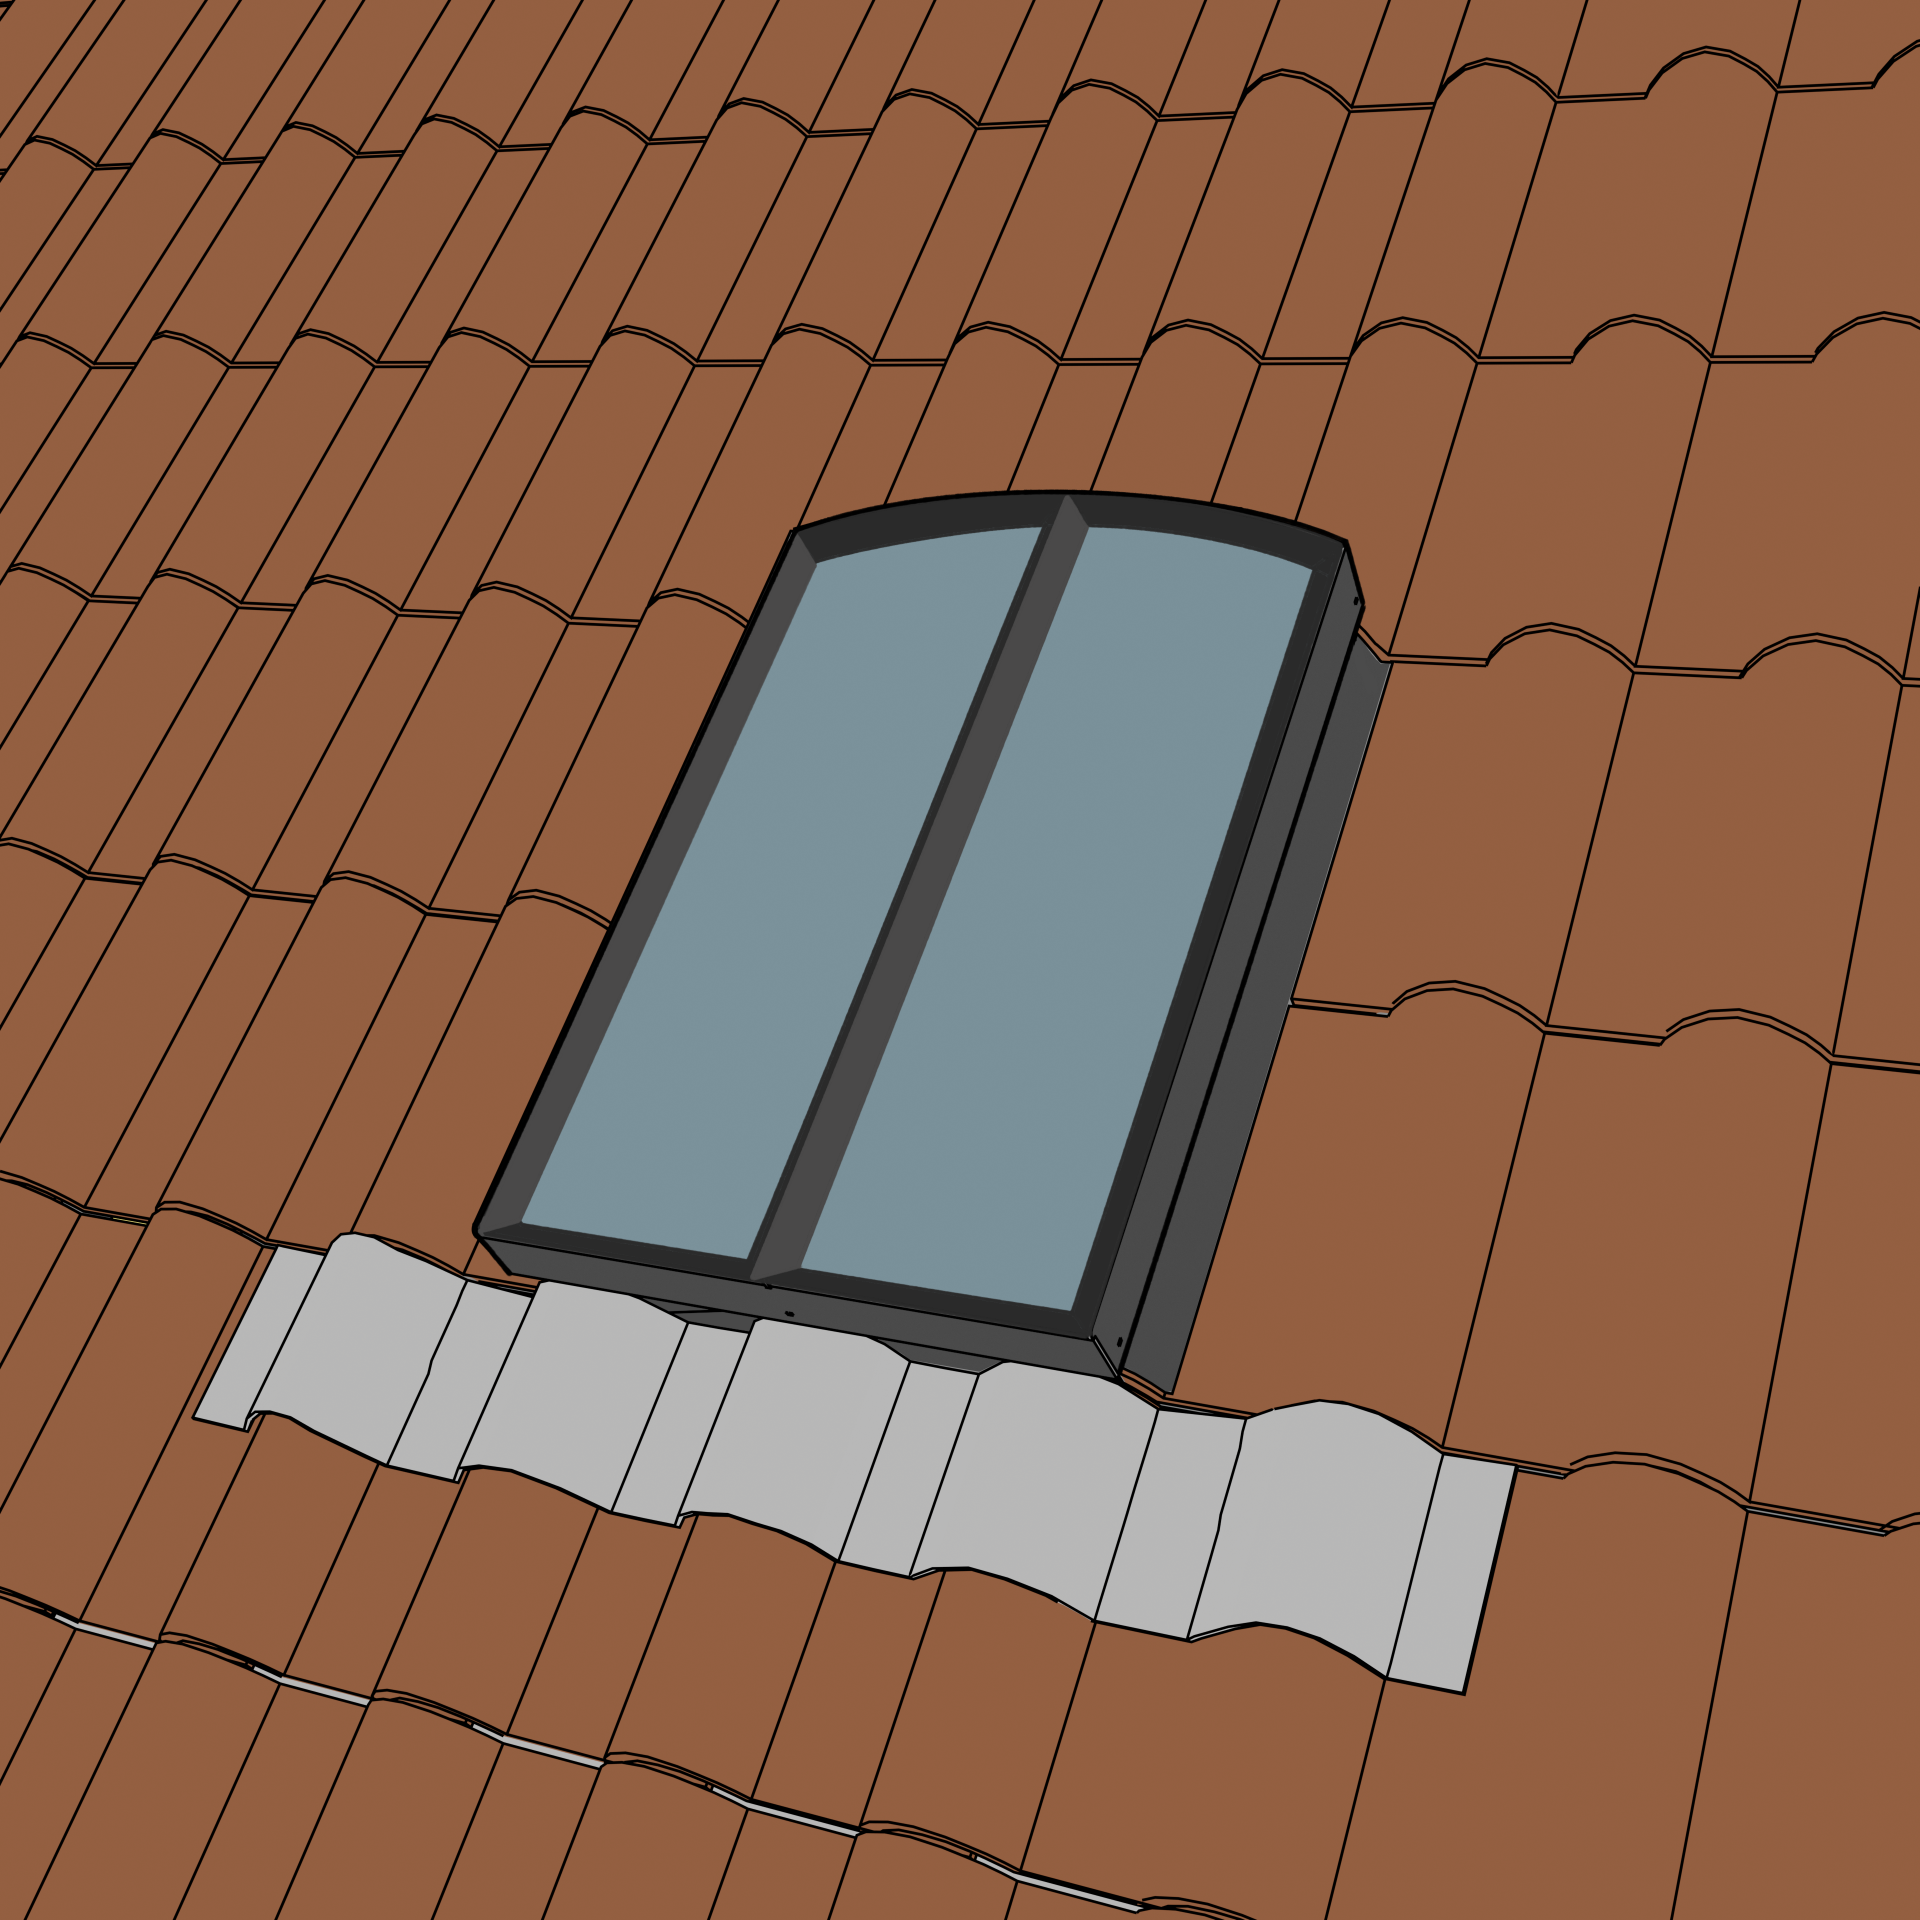
Fero V — roof windows manual
Illustrated installation guide for Fero V roof windows — showing the installer fastening the frame into the rafters with a cordless driver. The drawing keeps the scene uncluttered so the mounting sequence is immediately clear.
Step 04
Brochures
Product brochure for the HIDN line — combining product photography, technical details and brand identity into a print-ready layout.